
Rich copper hair dye is the fastest route to that deep, penny-bright copper without booking a salon chair. Done right, a box or bottle of the good stuff gives you salon-level richness at home, for a fraction of the price.
Done wrong, it gives you patchy orange and regret.
Table of Contents
What “Rich Copper” Means on the Box
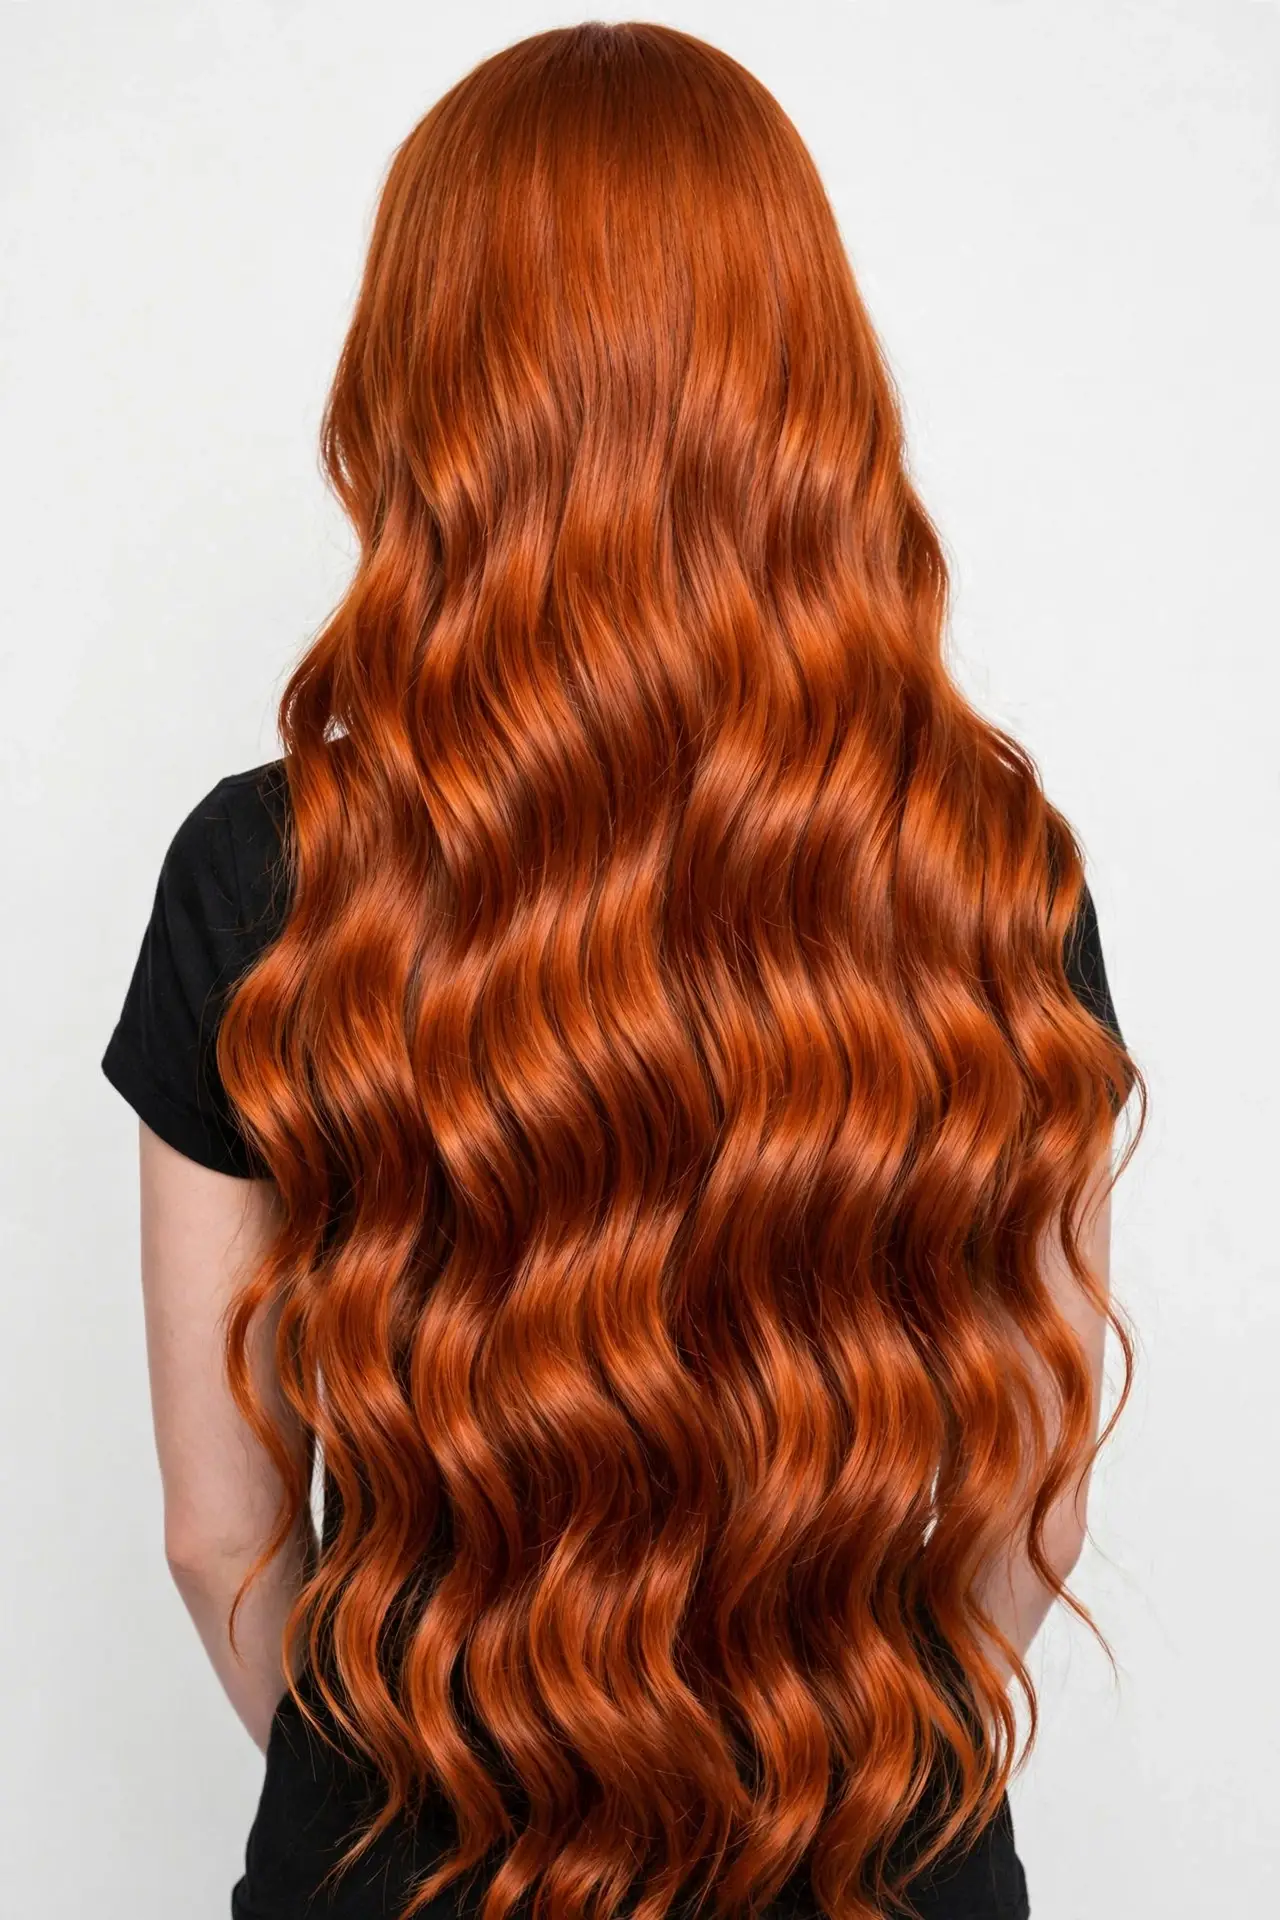
Copper is a whole family, and “rich” is doing specific work in the name. Rich copper hair dye sits around a level 6 to 7 with strong orange-red reflect: deeper and more saturated than light copper, warmer and brighter than auburn.
Read the box like a detective. Shade names with “intense copper,” “deep copper,” or “copper red” are your friends. Names with “light golden brown” or “dark blonde” will not get you there, no matter what the model photo promises.
The little number on the box helps too. Copper shades usually carry a 4 after the base number (like 6.4 or 7.44), which signals copper reflect. That one detail separates true rich copper from a brown that photographs warm.

Choosing Your Shade for At-Home Success
Your starting color decides everything. If your natural hair is medium brown to dark blonde, most rich copper hair dye will take beautifully in one step, lifting and depositing at the same time to land you right in penny territory.
Dark brown or black hair is trickier. Box dye cannot lift more than a couple of levels, so going from near-black to vivid copper in one box usually ends muted or uneven. Either choose the deepest copper shade and accept a subtler result, or see a professional for the first lift.
Skin tone matters for which copper you pick. Warm and golden skin glows with true orange copper. Fair, cool skin looks stunning with a deeper copper-red that has more red than orange. When in doubt, go slightly deeper and redder rather than lighter and brighter. Deeper is easier to fix than too-light.

The Strand Test: Never Skip This
Every box says to do it. Almost nobody does. The strand test is the difference between predictable color and a surprise, and it takes twenty minutes while you do something else.
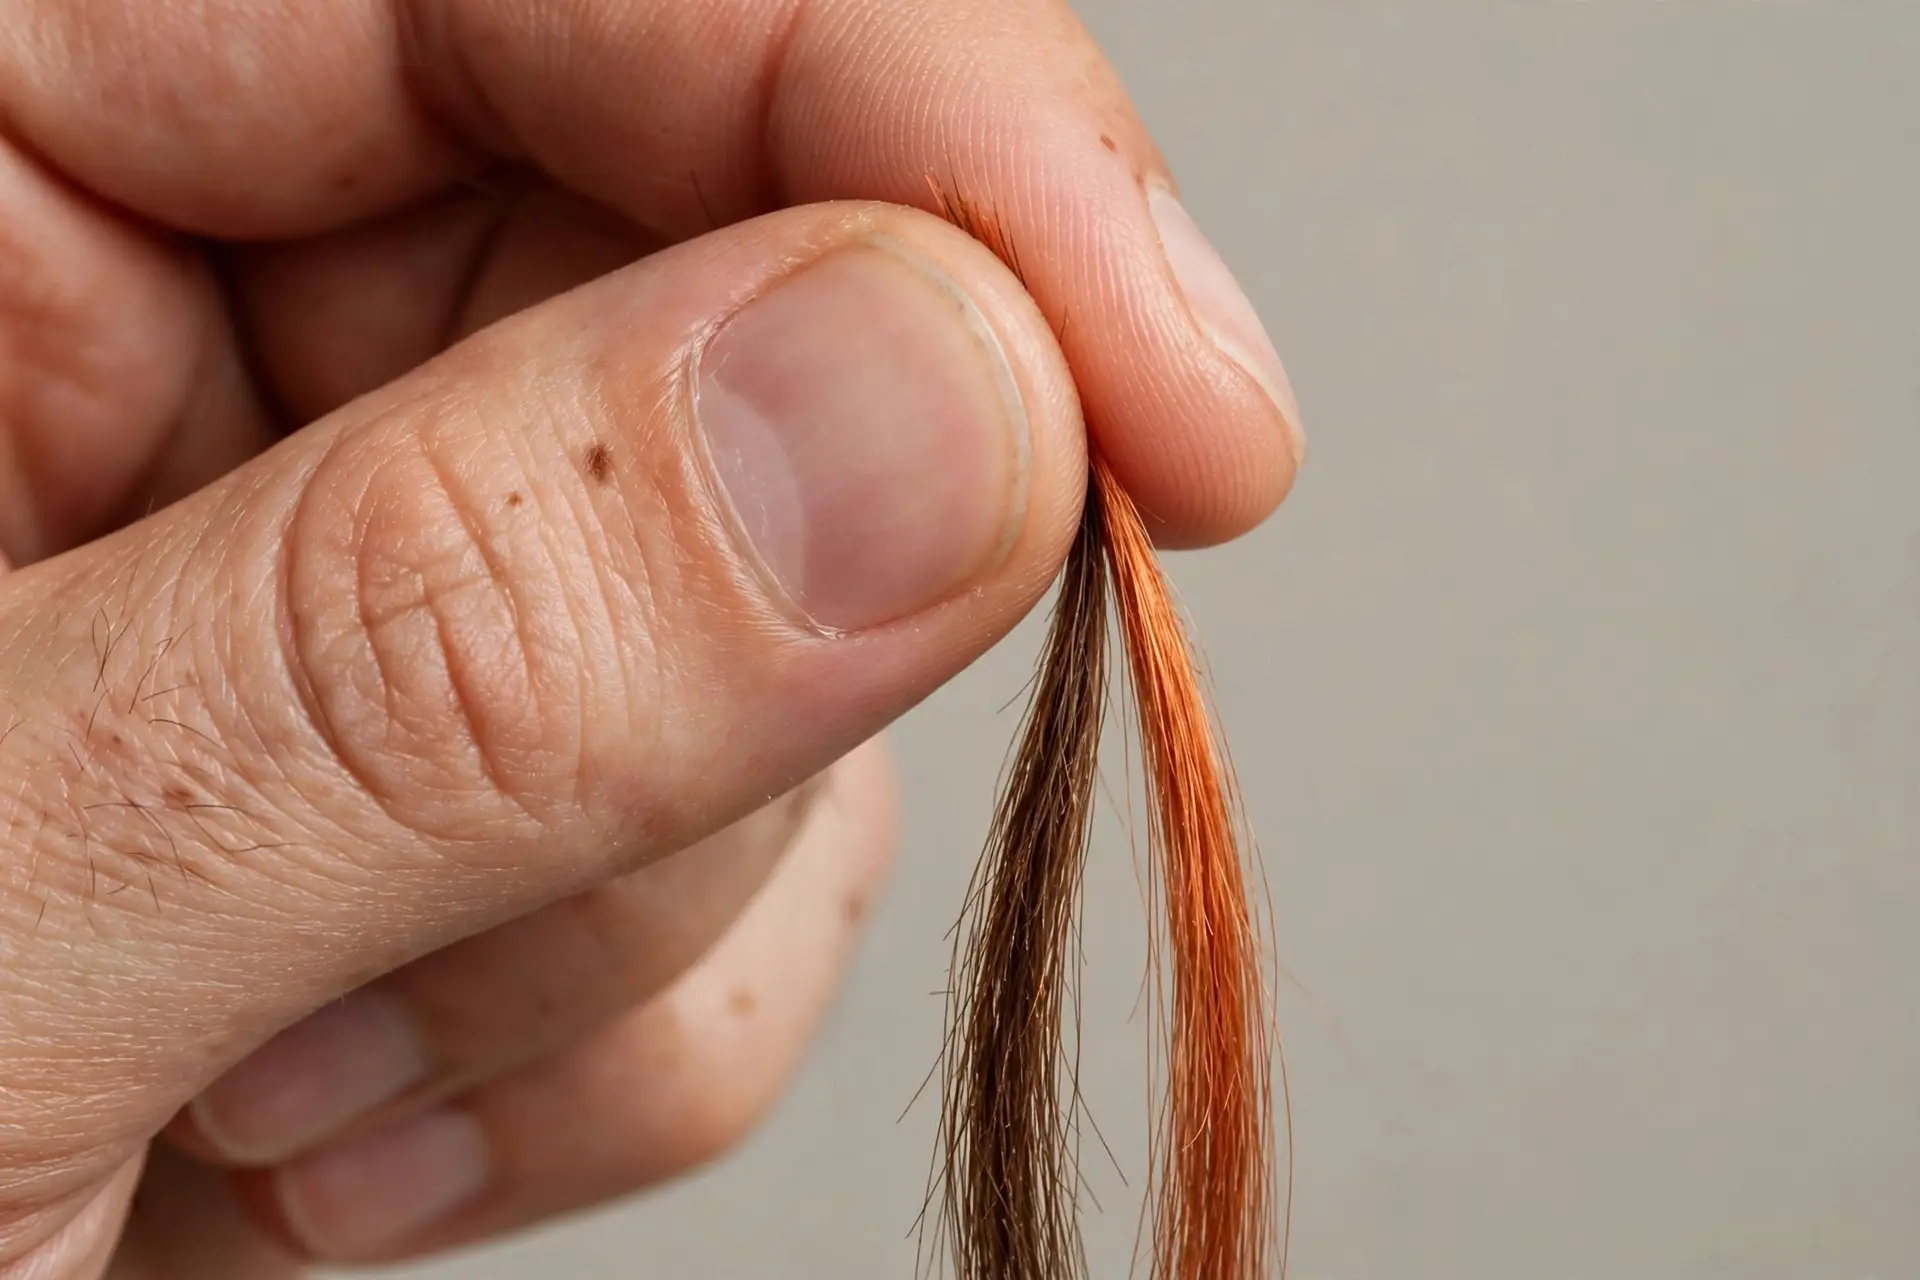
Mix a tiny amount of dye, apply it to a hidden section behind your ear or underneath at the nape, and time it exactly as the instructions say. Rinse, dry fully, and check it in daylight, since wet hair always looks darker.
What you are checking: does the shade match what you wanted, does it grab evenly, and how does your hair feel? If the strand looks great, proceed with confidence. If it looks off, you just saved your whole head. Adjust the shade or the timing before committing.

What You Need Before You Start
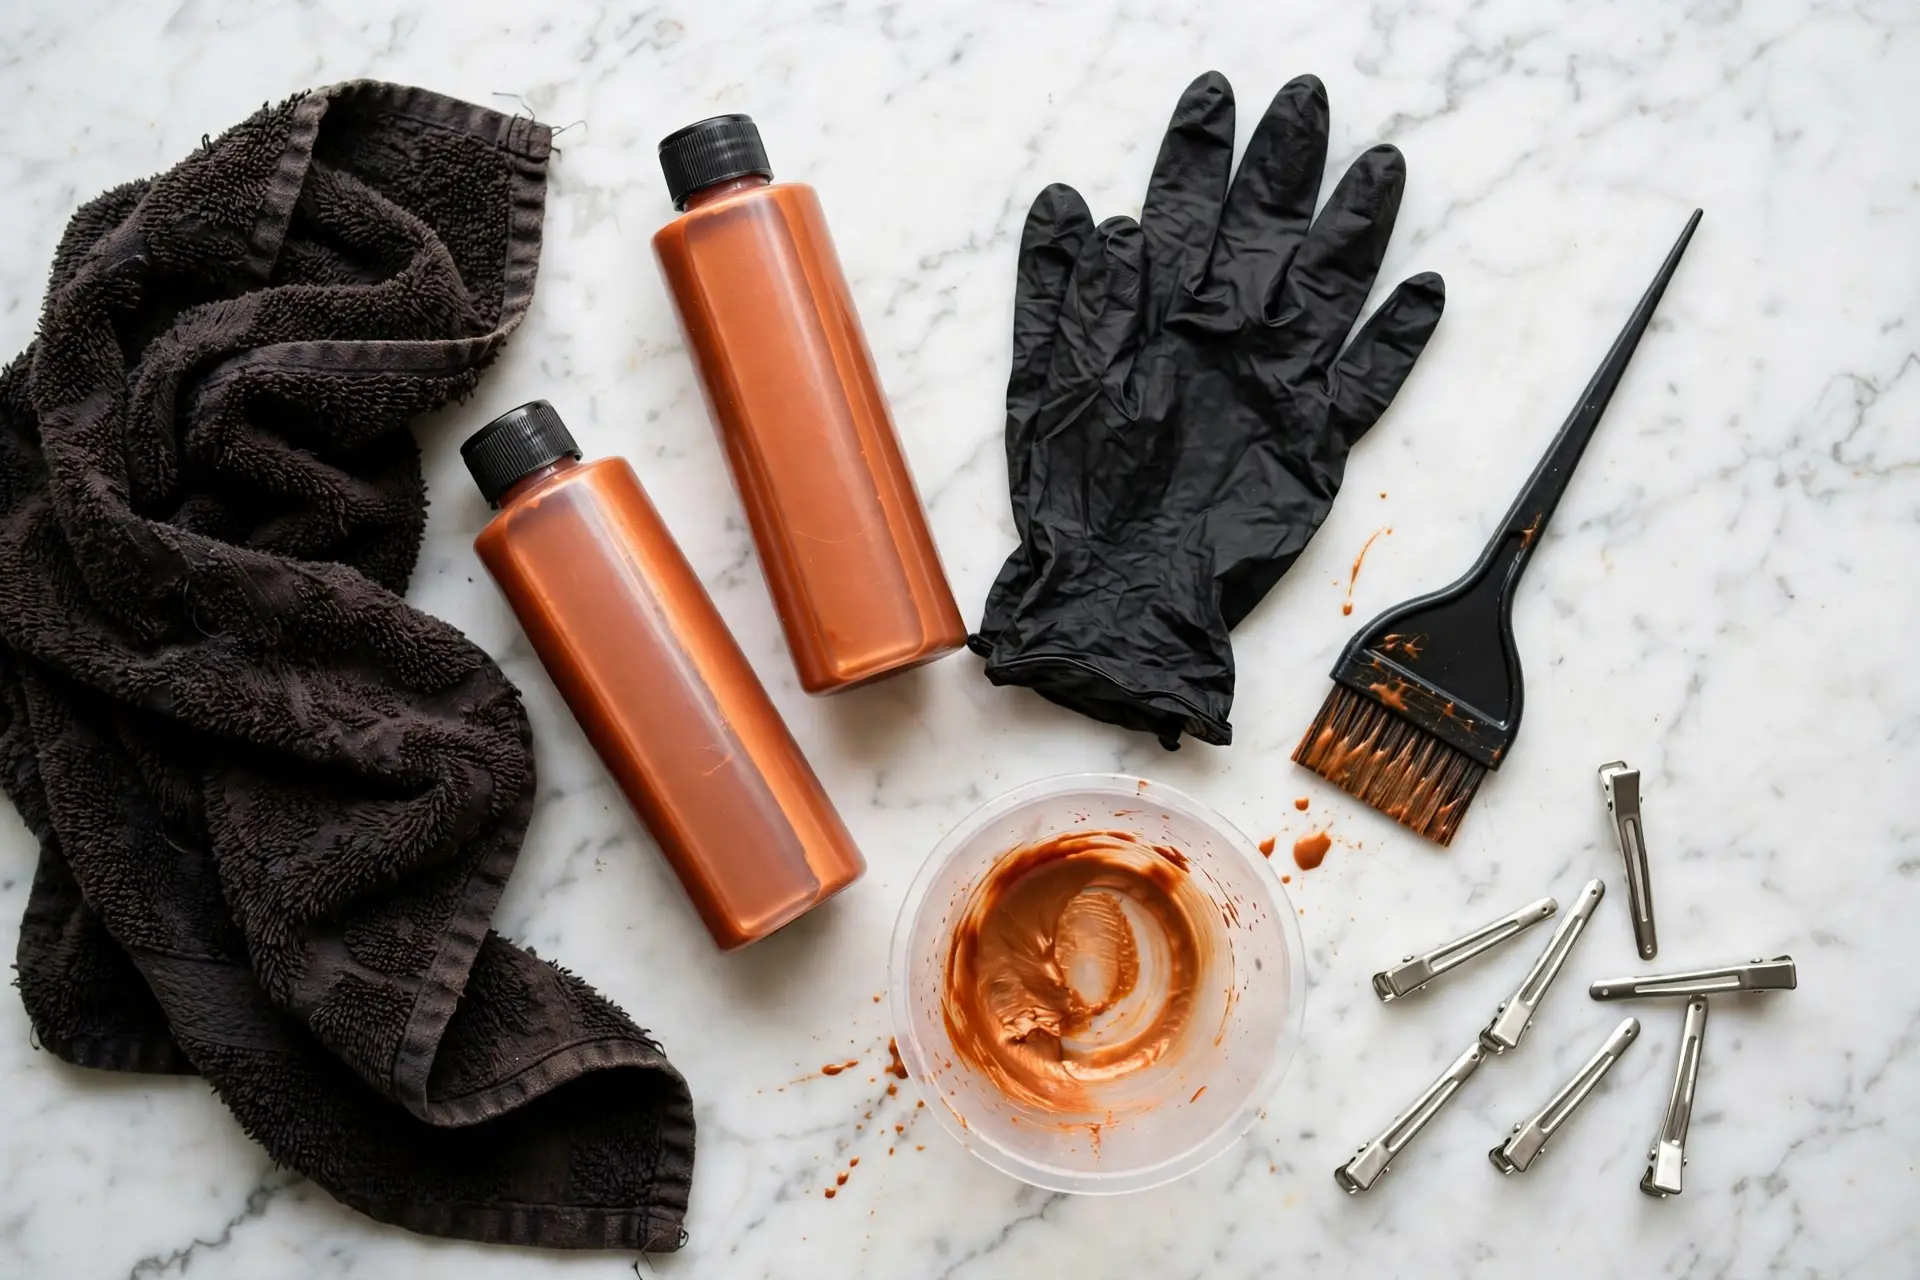
Gather everything before you mix, because dye waits for no one. You need the dye itself, gloves (use the ones in the box, or better ones from the beauty supply), and sectioning clips.
Protect your space: an old dark towel over your shoulders, petroleum jelly along your hairline and ears, and old clothes you do not love. Dye stains everything it touches.
Nice to have: a tint brush for precise roots, a wide-tooth comb for the lengths, and a timer. Guessing at timing is how people end up too dark or too bright, so do not wing it.

Step-by-Step Application
Start with dry, unwashed hair. A day or two of natural oils protects your scalp, and dye takes more evenly on hair that is not freshly squeaky clean. Brush it smooth and clip it into four sections.
Apply the rich copper hair dye to the roots first if you are covering regrowth or going darker, since roots need the most time. Work the dye in section by section and really saturate. The most common at-home mistake is skimping on product, so buy two boxes if your hair is thick or long.
Once the roots are done, pull the color through the lengths and make sure every strand is coated. Set your timer for exactly what the instructions say. When time is up, rinse with lukewarm water until it runs clear, then condition well. Style as usual and admire your work in daylight.
The Biggest At-Home Mistakes
Mistake one is overlapping rich copper hair dye onto already-colored lengths every time. That builds up dark, muddy ends. Touch up the roots only, and pull color through the lengths just for the last few minutes if they need refreshing.
Mistake two is skipping the strand test and the allergy patch test, a dab behind the ear 48 hours before. The strand test saves your color and the patch test protects your health.
Mistake three is uneven saturation. If some sections get more dye than others, you get patchiness that screams DIY. Work methodically, check your work in the mirror, and use enough product.
Mistake four is washing too soon or too hot afterward. Give the color 48 hours before the first wash if you can, and keep that first wash lukewarm. Hot water opens the cuticle and rinses fresh copper straight down the drain.
Aftercare: Keeping Copper Vivid
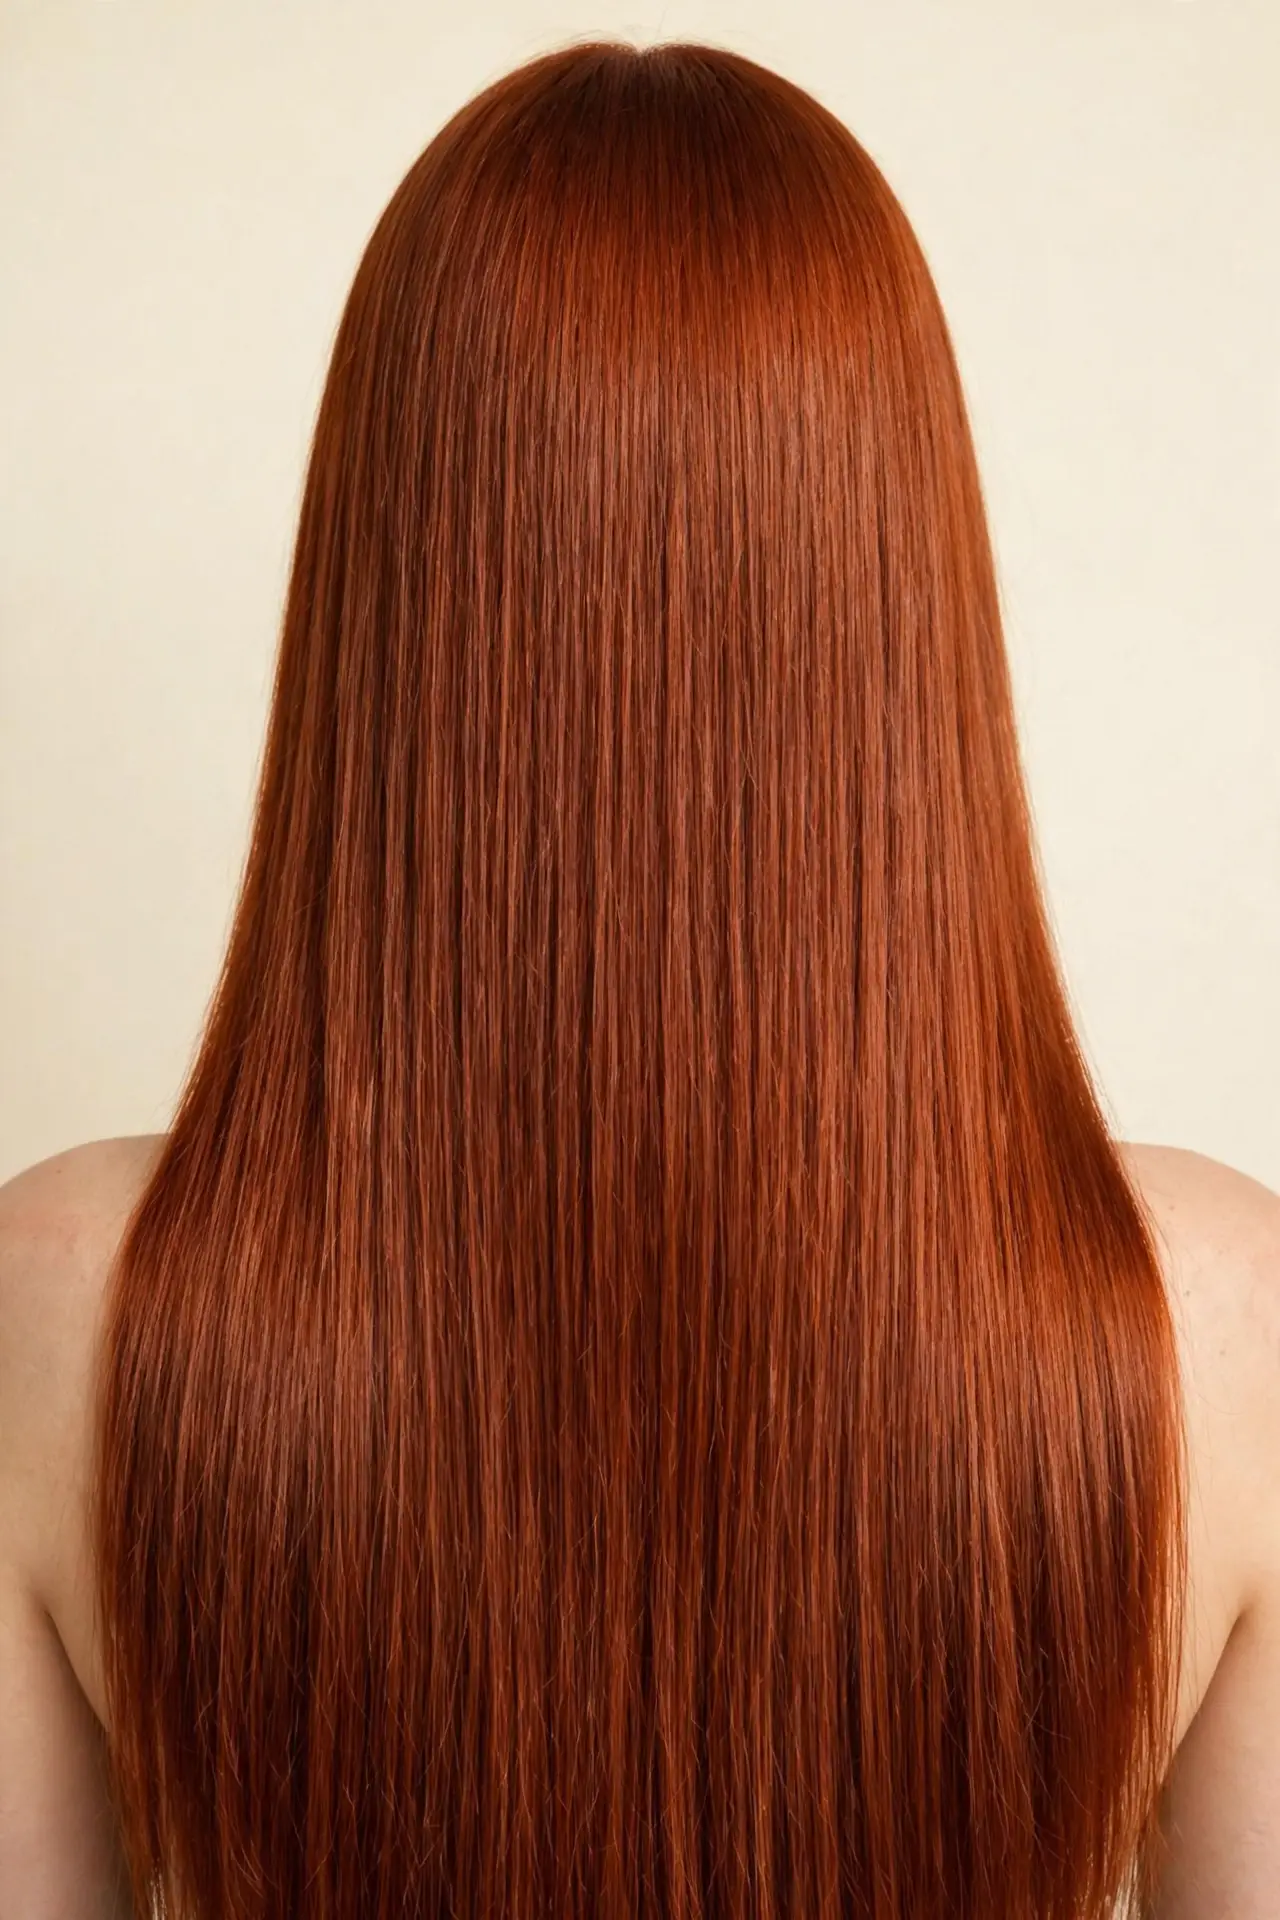
Here is the truth about copper: it is the fastest-fading shade family there is, and those orange-red molecules wash out quicker than any brown or blonde. Your aftercare routine is what stands between rich copper hair dye looking vivid and washed-out.
Wash less and wash cool. Every wash fades copper a little, so stretch to two or three washes a week and keep the water lukewarm. Sulfate-free, color-safe shampoo is mandatory, not optional.
A copper color-depositing conditioner once a week puts back what washing takes out, keeping the richness topped up between dye sessions. Think of it as a mini dye job in your shower, with zero commitment and ten minutes of effort.

The Upkeep Schedule
Roots show in four to six weeks on most people, and copper roots are more visible than brown ones because the contrast is stronger. Plan a root touch-up every four to six weeks to keep the color seamless.
A full-head refresh every six to eight weeks keeps the lengths vivid, but only pull dye through if the ends need it. Often a copper-depositing mask handles the lengths while you just do the roots.
Between sessions, watch for fading at the hairline and part, where washing and sun hit hardest. A little extra depositing conditioner on those spots keeps everything even. If the color ever goes dull all over, a clear gloss adds shine without changing the shade.
For salon-level copper inspiration and deeper shade breakdowns, our oxidised copper hair and soft copper blonde guides show what the pros do with this color family.
When to Call a Professional Instead
At-home dye is fantastic until it is not. If your hair is previously bleached, damaged, or breaking, box dye can push it over the edge, so let a professional assess what it can handle.
Going from black to rich copper is a two-step job involving lift, and lift is where at-home color goes wrong most often. If your starting point is very dark and your goal is vivid, book the first appointment and maintain at home after.
Any history of allergic reaction to hair dye means stop and see a professional or dermatologist before trying again. And if you are attempting a major correction, like fixing a botched dye job, that is firmly salon territory. Corrections need a trained eye, not a second box. For washing and styling habits that protect color-treated hair, the American Academy of Dermatology’s healthy hair tips are a useful reference.

Quick Answers Before You Dye
Will box dye damage my hair? Any permanent dye changes the hair structure, but modern formulas are gentler than their reputation. Demi-permanent options are even kinder and great for a first try.
How long does rich copper last? The initial vibrancy holds two to three weeks, then it softens. With depositing conditioner and cool washes, a dye job looks good for six to eight weeks before needing a refresh.
Can I use rich copper hair dye over dark hair? You can, but manage expectations. On dark brown hair you will get a deep copper glow rather than bright penny. For the vivid result on the box, the hair needs to be at the right starting level first.
What if I hate it? Copper fades faster than any other shade, which is actually good news here. A few clarifying washes will soften it considerably, and your colorist can shift it to auburn or brown easily if you want out.

Rich copper hair dye is one of the most rewarding at-home colors you can do. Pick the right shade for your starting point, respect the strand test, saturate properly, and keep up with the depositing conditioner. Do those four things and nobody will believe you did it in your bathroom.






Pingback: Dark Copper Brown Hair: 9 Shades That Keep The Brunette Depth