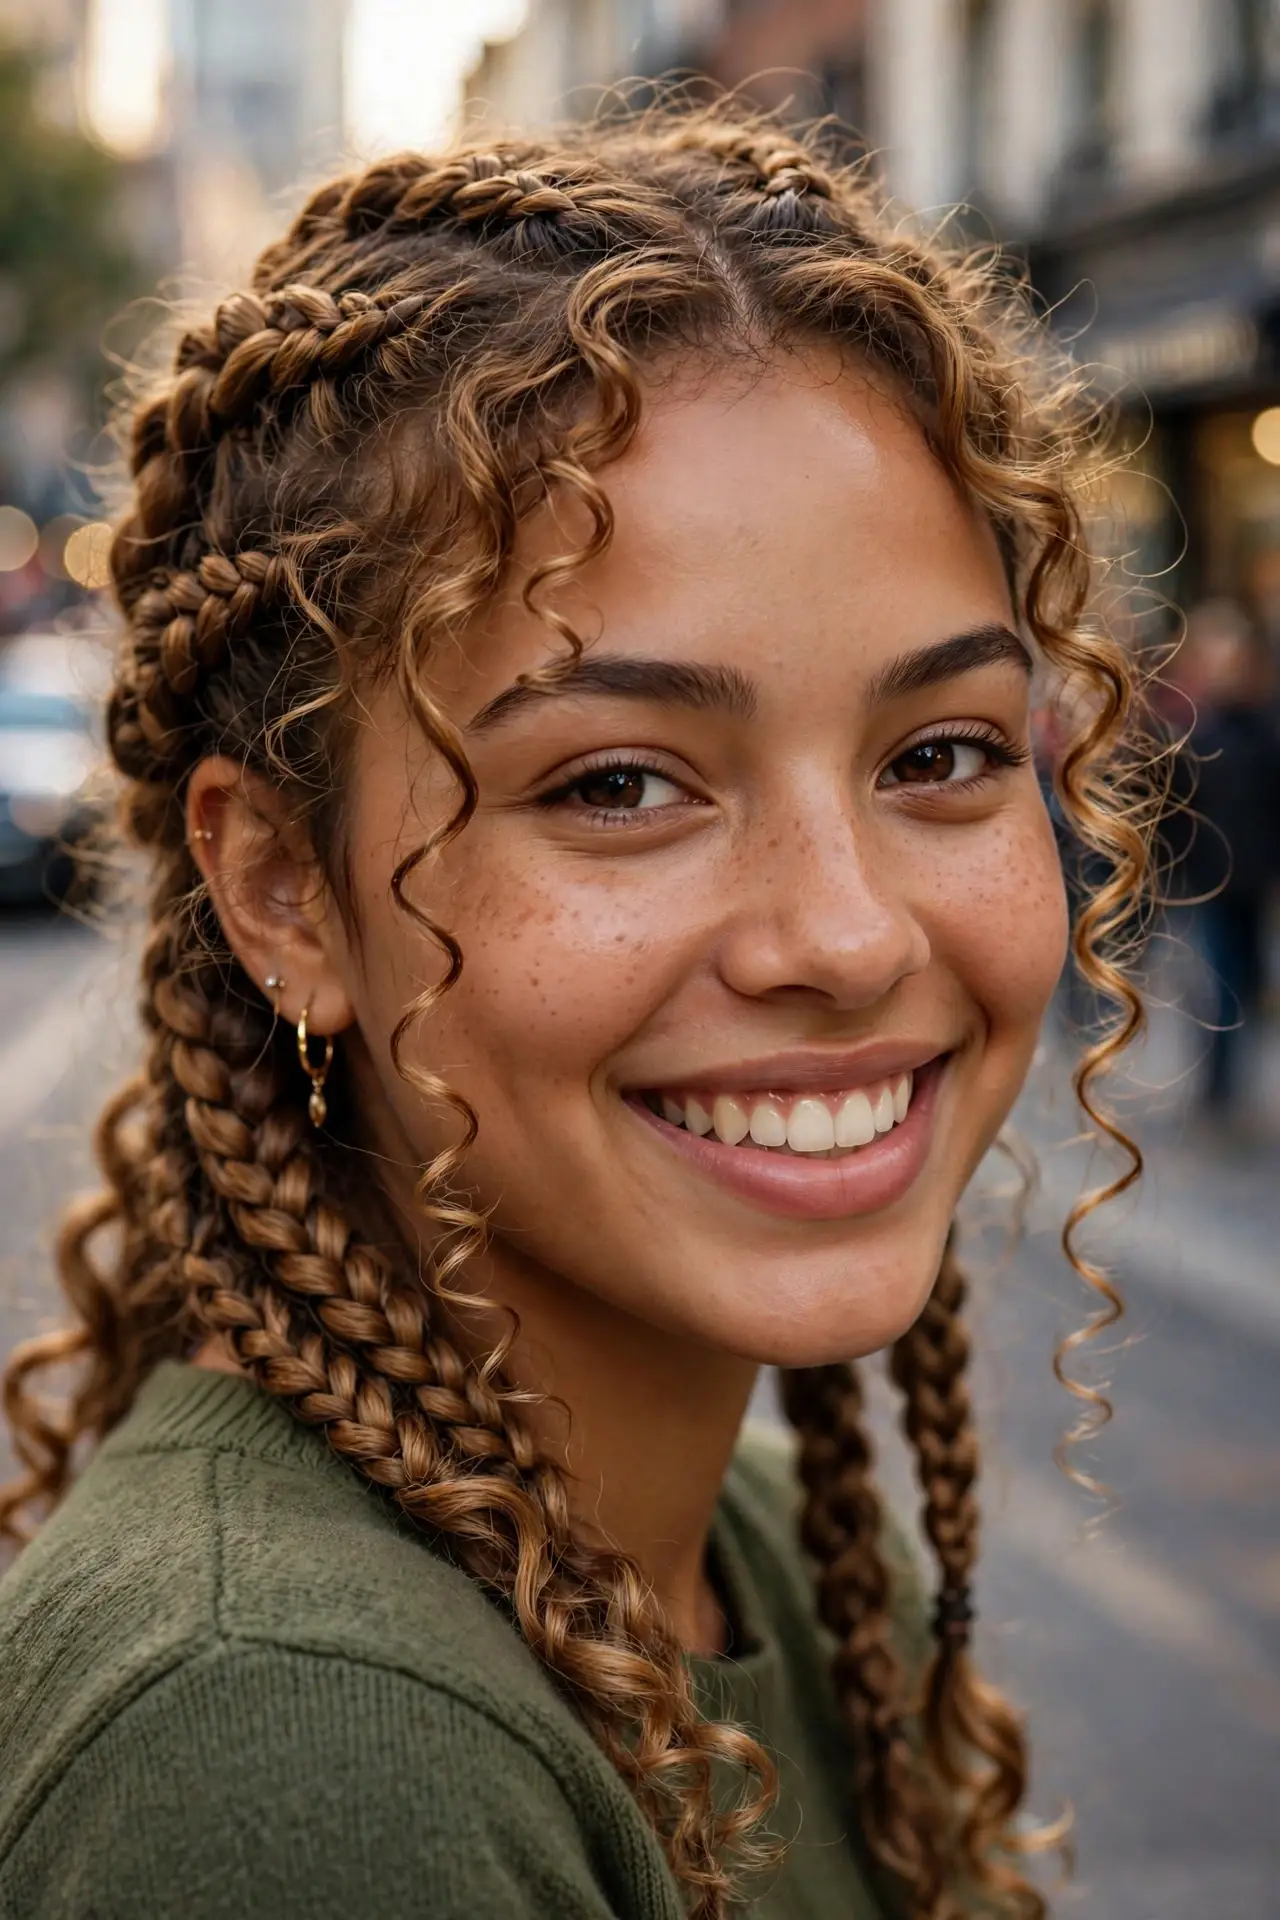
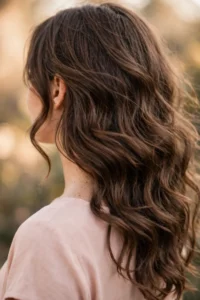
French curl braids are the soft, romantic braid style all over your feed, and they are much easier to create than they look. Picture a classic French braid done on bouncy, defined curls, so the whole thing looks full, soft, and a little bit dreamy. This tutorial walks you through every step, from prep to the finished braid, plus a second day version that might be even prettier than day one.
Table of Contents
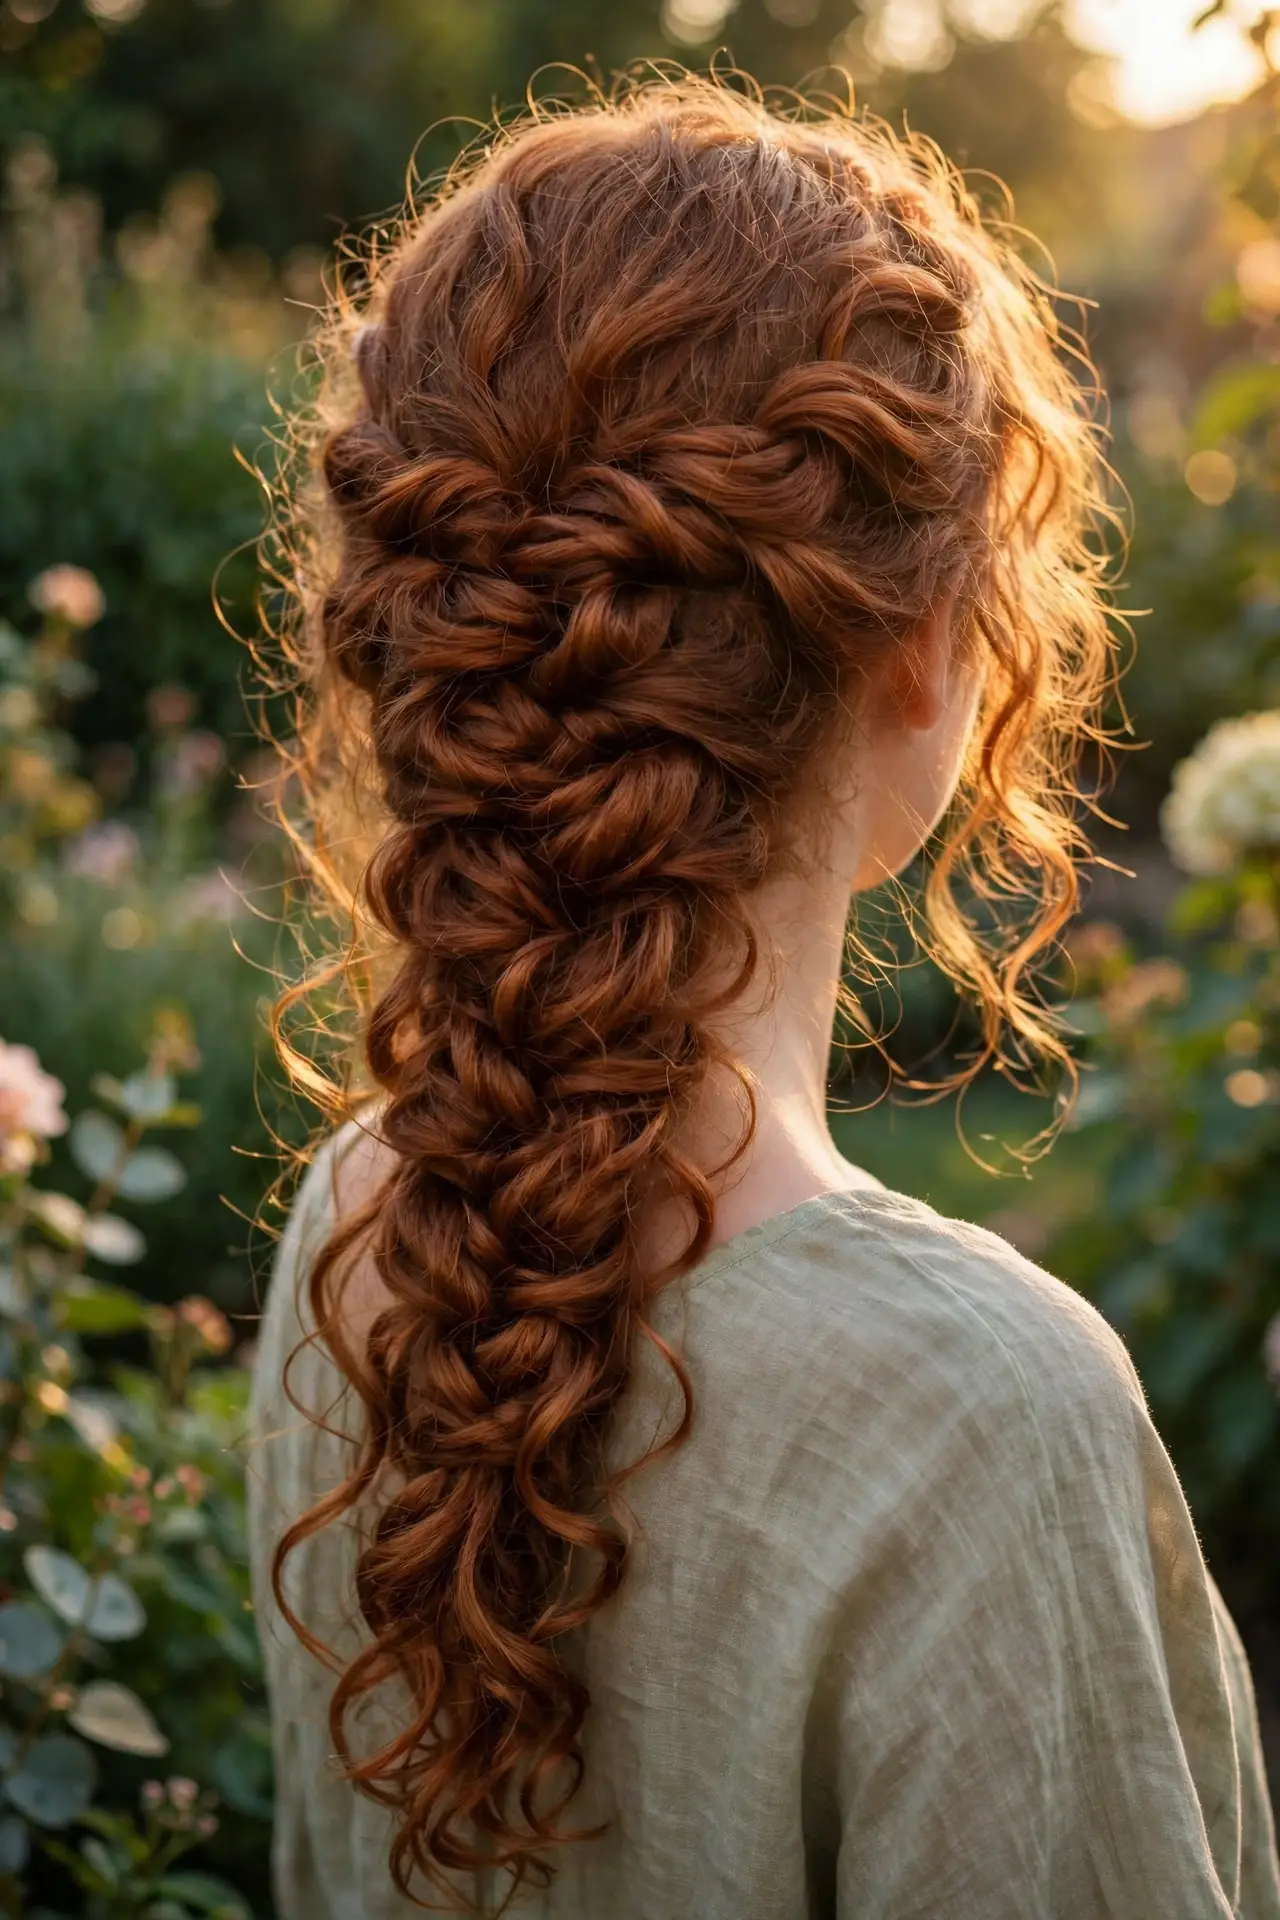
What Makes This Braid Different
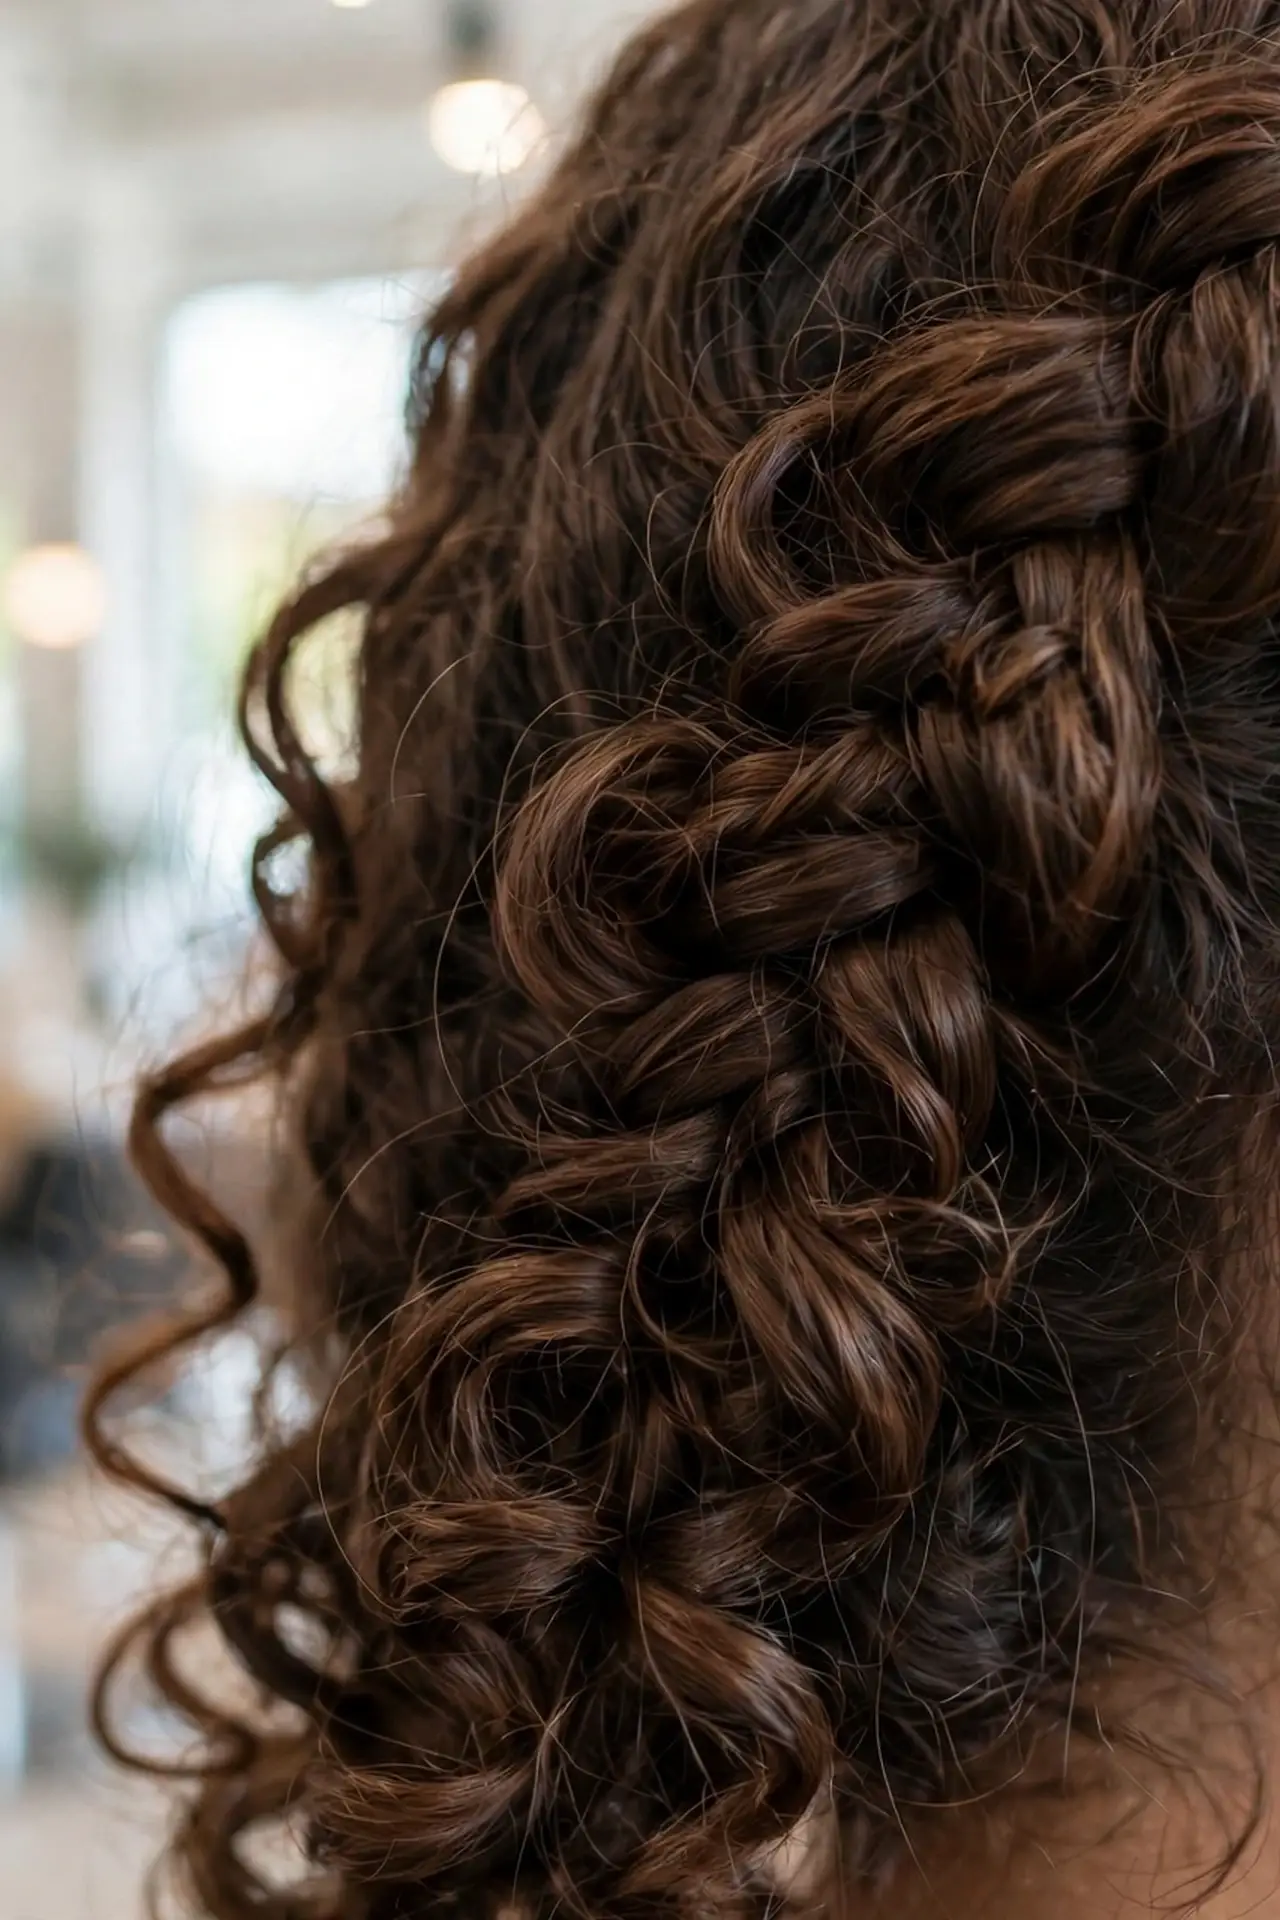
A regular French braid on straight hair looks sleek and neat. Do the same braid on defined curls and you get something totally different: volume at every section, soft texture peeking through, and loose tendrils that frame your face on their own.
French curl braids work as one braid down the back, two braids, or a single side braid over one shoulder. The curls do most of the visual work, so you do not need perfect technique. Slightly imperfect braiding actually looks better because it keeps the finish soft instead of stiff. That is the whole charm of french curl braids: the texture hides every little wobble.
Which Hair Types Work Best
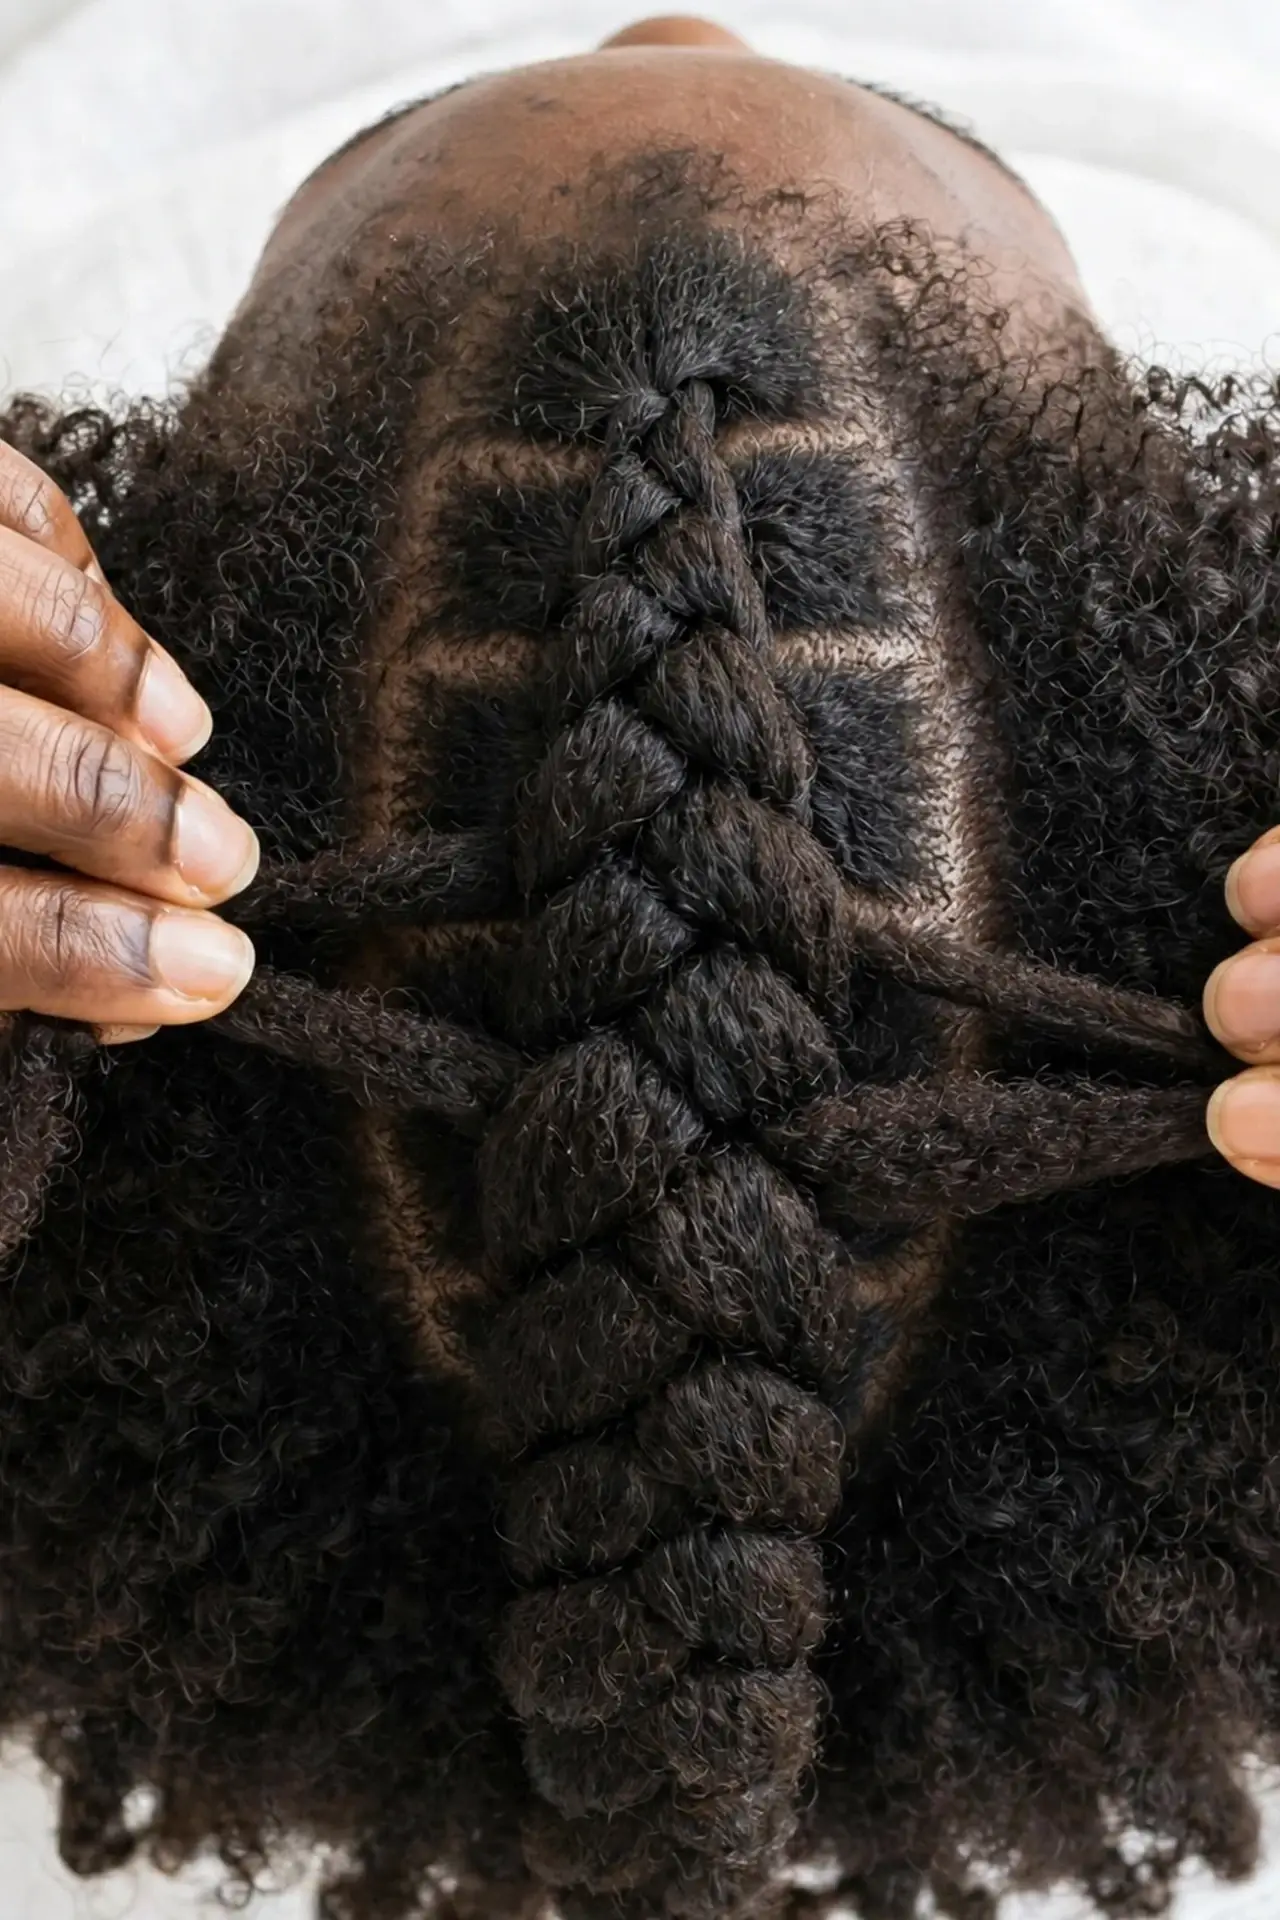
Naturally curly and coily hair is the dream canvas here. If your hair already holds a curl pattern, from loose waves to tight coils, you can braid on your natural texture with almost no prep. Type 3 curls give the classic bouncy look, while type 4 coils create a stunning, sculptural braid with incredible volume.
Wavy hair works beautifully too, especially if you enhance the wave first. A quick pass with a curling wand on the mid lengths, or braiding damp hair and letting it dry, gives you enough texture to build around.
Straight and fine hair can wear this style, it just needs a little help. Add curl before you braid, and treat a texturizing product as a must have. Fine hair braids very neatly, so your sections will look clean even if the braid is a bit slimmer. Very short hair is the one limitation: chin length is the realistic minimum, and shoulder length is where this style really shines.
What You Will Need Before You Start
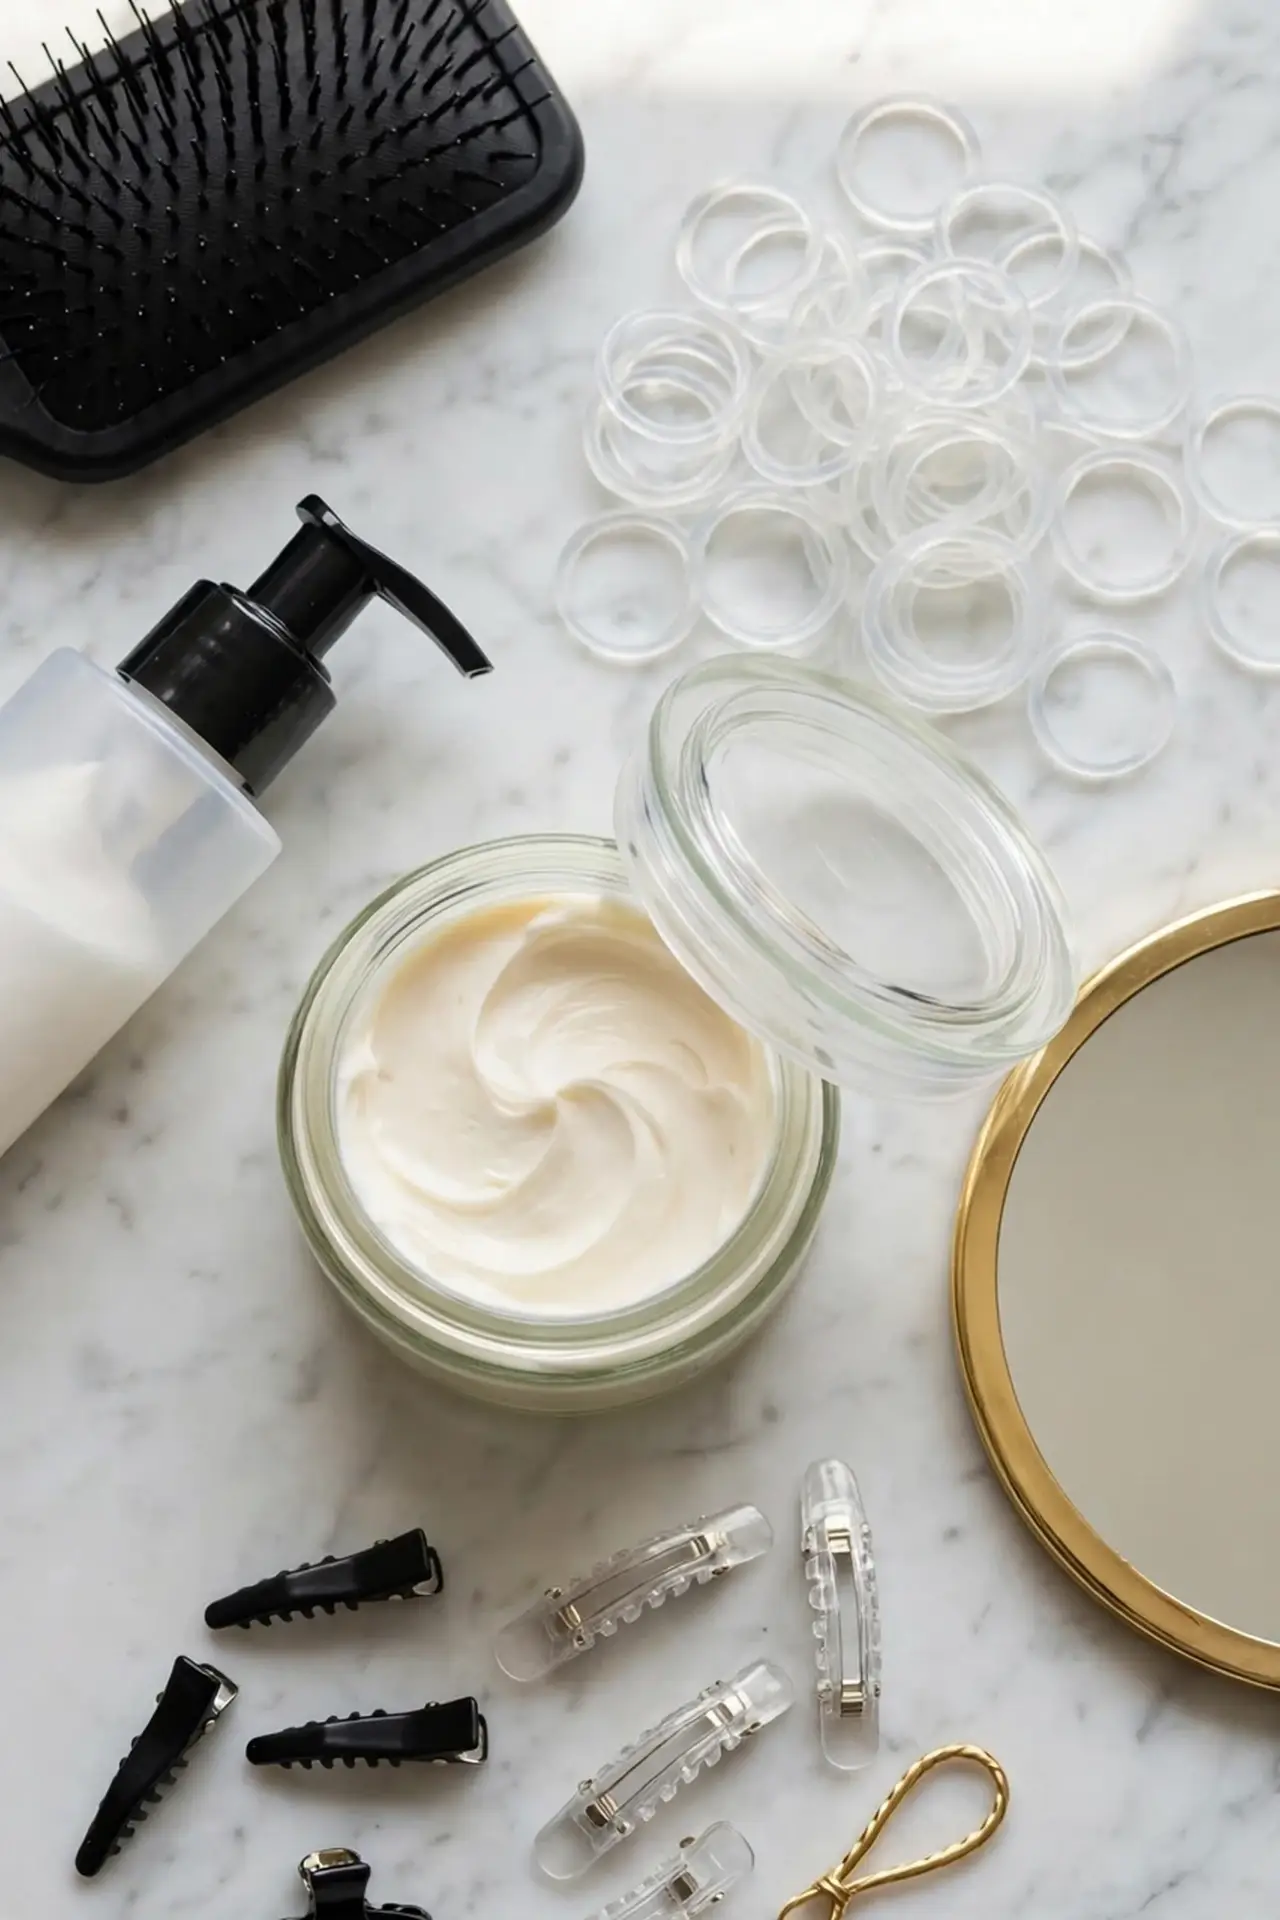
Gather everything before you pick up the first section, because stopping mid braid to hunt for an elastic is how braids fall apart. You need a detangling brush or wide tooth comb, two to four small clear or hair colored elastics, and a few bobby pins in your hair color.
For products, grab a leave in conditioner or curl cream, a light hold mousse, and a flexible hairspray. If your hair is straight or fine, add a texturizing spray. A spray bottle with water helps if your curly hair has started to dry. A rat tail comb gives you crisp partings, and a silk scarf or bonnet protects the style overnight.
The Step by Step Method
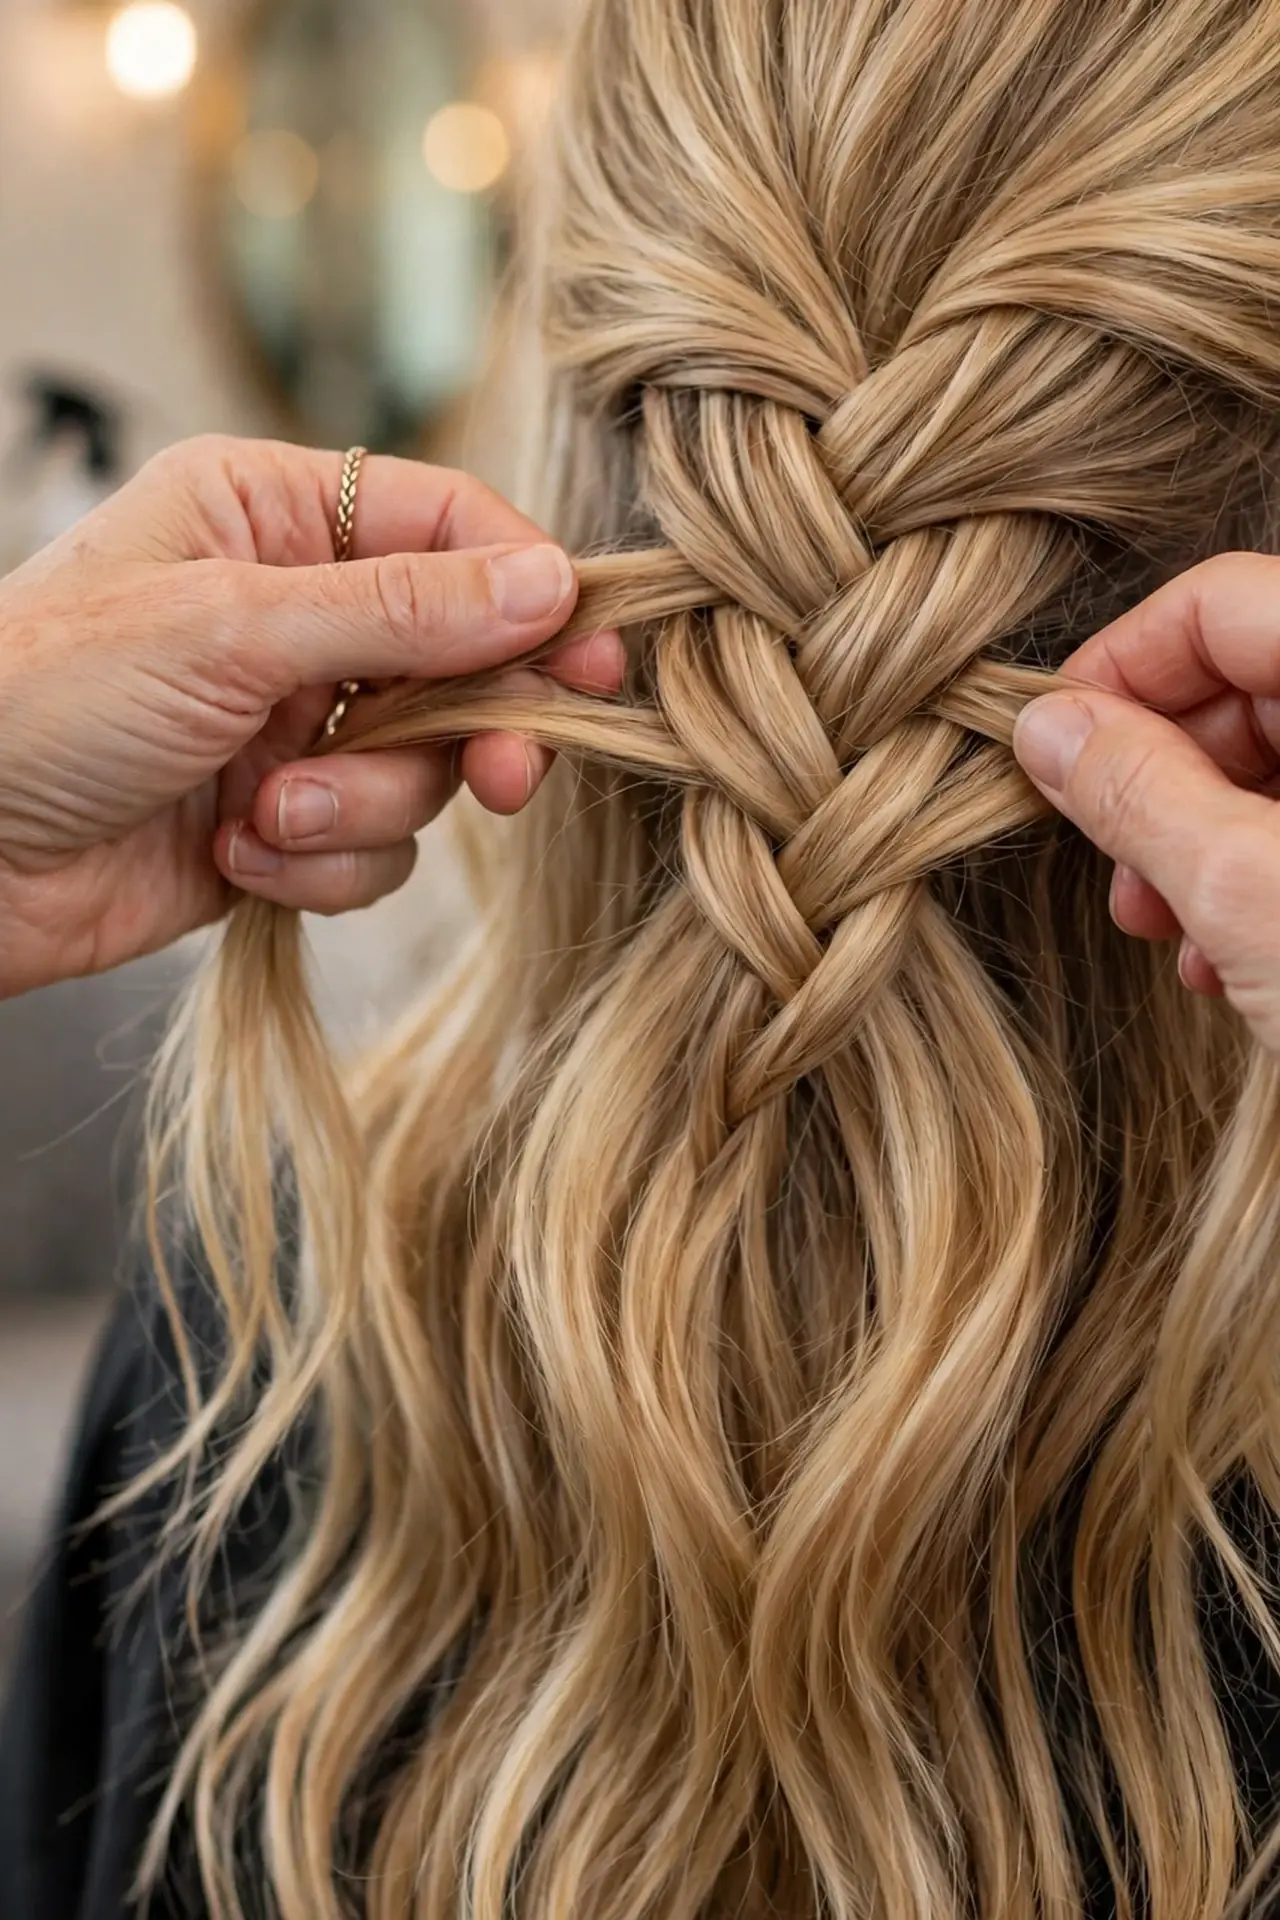
Start with clean, detangled hair that is about eighty percent dry if it is naturally curly, or fully dry with fresh curls added if it is straight. Work leave in conditioner or curl cream through the lengths, then scrunch in mousse. Your hair should feel defined and slightly tacky, not wet and not fluffy.
Take a generous section at the crown, roughly the width of your forehead, and split it into three strands. Cross the right strand over the middle, then the left over the new middle, just like a standard French braid. Keep the tension medium, not tight. Tight braiding stretches curls flat and kills the softness you want.
Each time you cross a side strand over, scoop up a new section of curls from that side and fold it in first. Work with curl clumps instead of fighting them smooth. Those clumps become the texture that makes french curl braids so pretty, so let them be.
Keep your added sections even on both sides so the braid stays centered. When you run out of hair to add at the nape, finish with a regular three strand braid down the remaining length. Secure the end with an elastic, gently tug the edges outward, mist with hairspray, and pull out two face framing tendrils.
Tips for Straight and Fine Hair
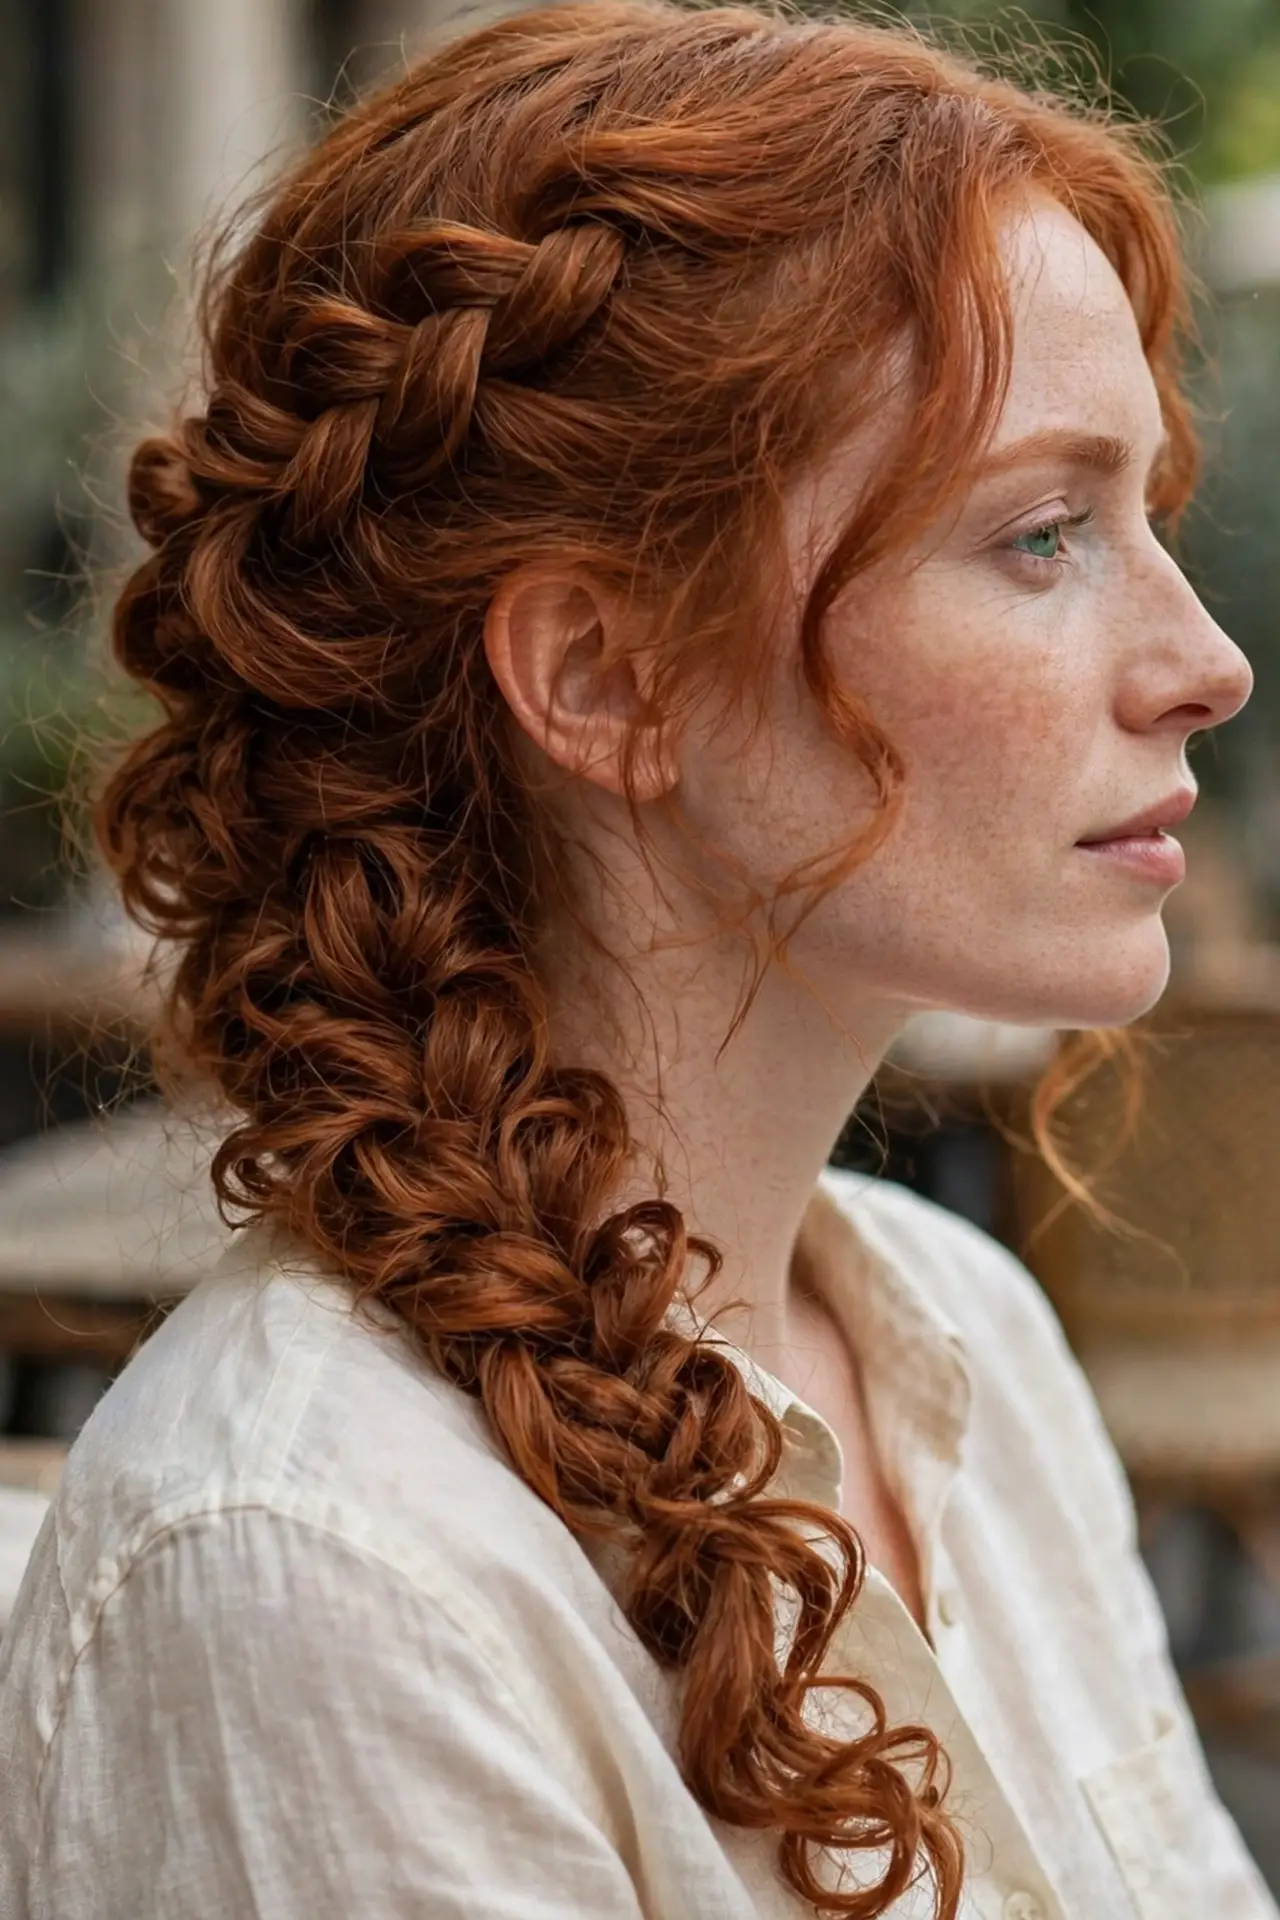
If your hair does not hold a curl, prep matters more than the braiding itself. Curl first with a one inch wand, alternating the direction of each section, and let the curls cool completely before you touch them. Warm curls fall flat the second you braid them.
Work texturizing spray through the cooled curls, focusing on roots and mid lengths, for the grip fine hair needs. Braid with slightly more tension than you would on curly hair, since straight hair loosens faster. You can always soften the braid afterward by tugging the edges, and pieces that slip out around your face read as intentional softness anyway.
The Second Day Version

French curl braids often look better on day two. Sleep in the braid with a silk scarf or bonnet, and by morning the curls have set into soft, lived in waves with the braid pattern pressed gently into them.
Undo the braid slowly from the bottom and do not brush it out. Shake your roots gently with your fingertips and let the waves fall where they want. Revive flat pieces with a spritz of water mixed with a pea sized amount of curl cream, then scrunch.
You can even rebraid loosely for day three. Gather the waves into a loose low plait without adding new sections for a soft textured braid that looks completely different from the original. One styling session, three days of hair.
How to Make It Last
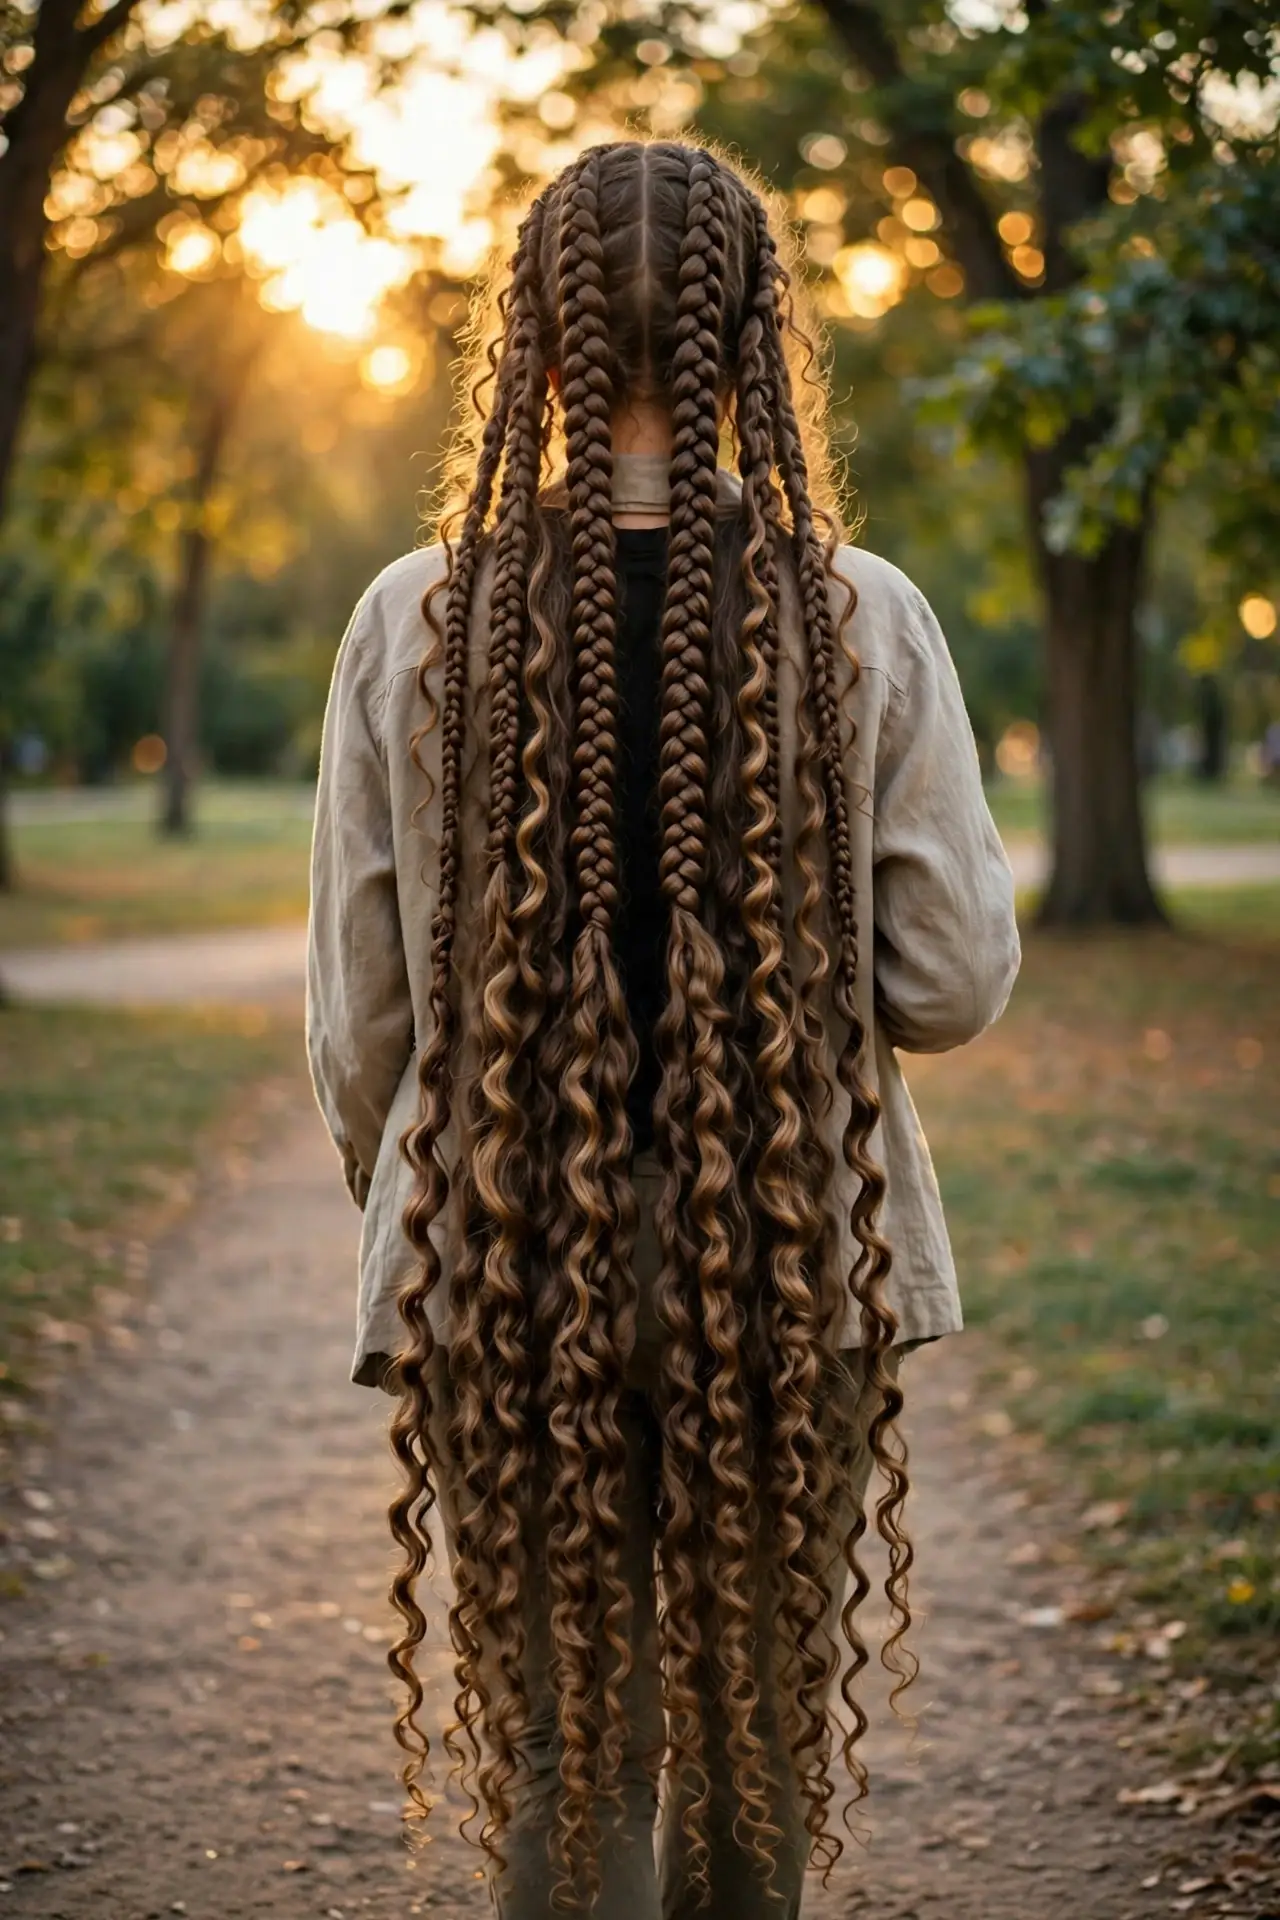
At night, wrap the braid in a silk scarf to protect the curl pattern from friction. Cotton pillowcases are the enemy of defined curls, so silk or satin is worth the switch.
In the morning, refresh rather than restyle. A light mist of water reactivates the products already in your hair. Scrunch the ends, smooth the hairline with a damp hand, and you have bought yourself another full day.
Avoid touching the braid during the day, since every touch adds frizz. On humid days, finish with an anti humidity spray, and consider two braids instead of one, since smaller sections hold their shape longer. For a longer lasting braided style with zero tension on your edges, see our knotless braids guide.
Mistakes to Avoid
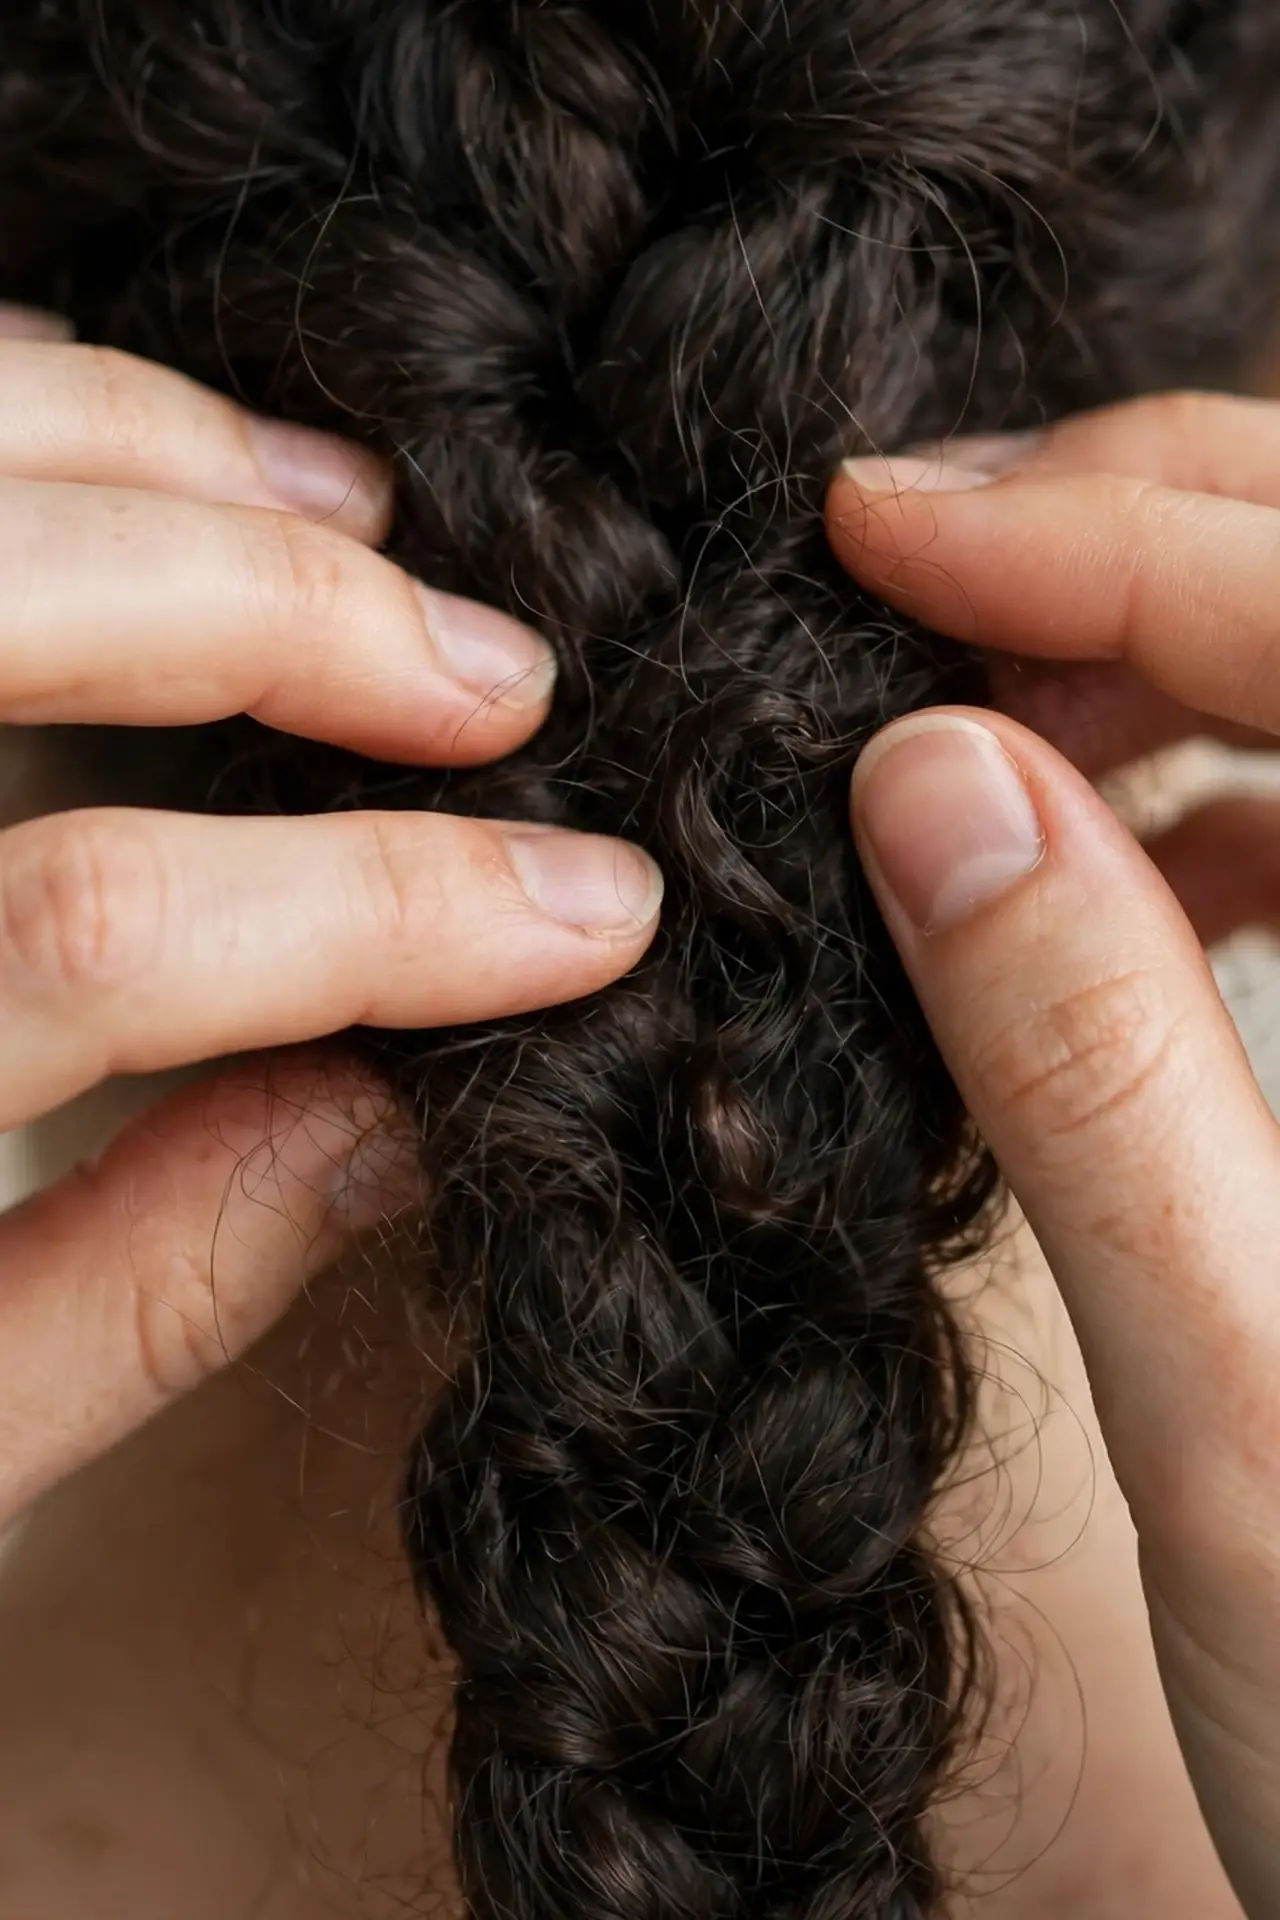
The most common mistake is braiding with too much tension. A tight braid on curly hair stretches the curls straight at the roots and creates a strange contrast with the curly ends. Keep your hands relaxed and let the braid sit slightly loose.
Skipping product is the second biggest error. Bare curls have no memory, so the braid loosens within hours. Even a small amount of mousse or curl cream gives the style the grip it needs to survive the day.
Starting with hair that is too wet or too dry also causes trouble. Sopping wet hair stretches and shrinks as it dries, which warps the braid. That eighty percent dry sweet spot with product worked through is where the magic happens.
Ways to Change Up the Look
Two braids instead of one give a playful feel and distribute heavy hair more comfortably. They are also the best option for workouts, since the style stays put. Short on time? Our quick braids collection has styles that take under ten minutes.
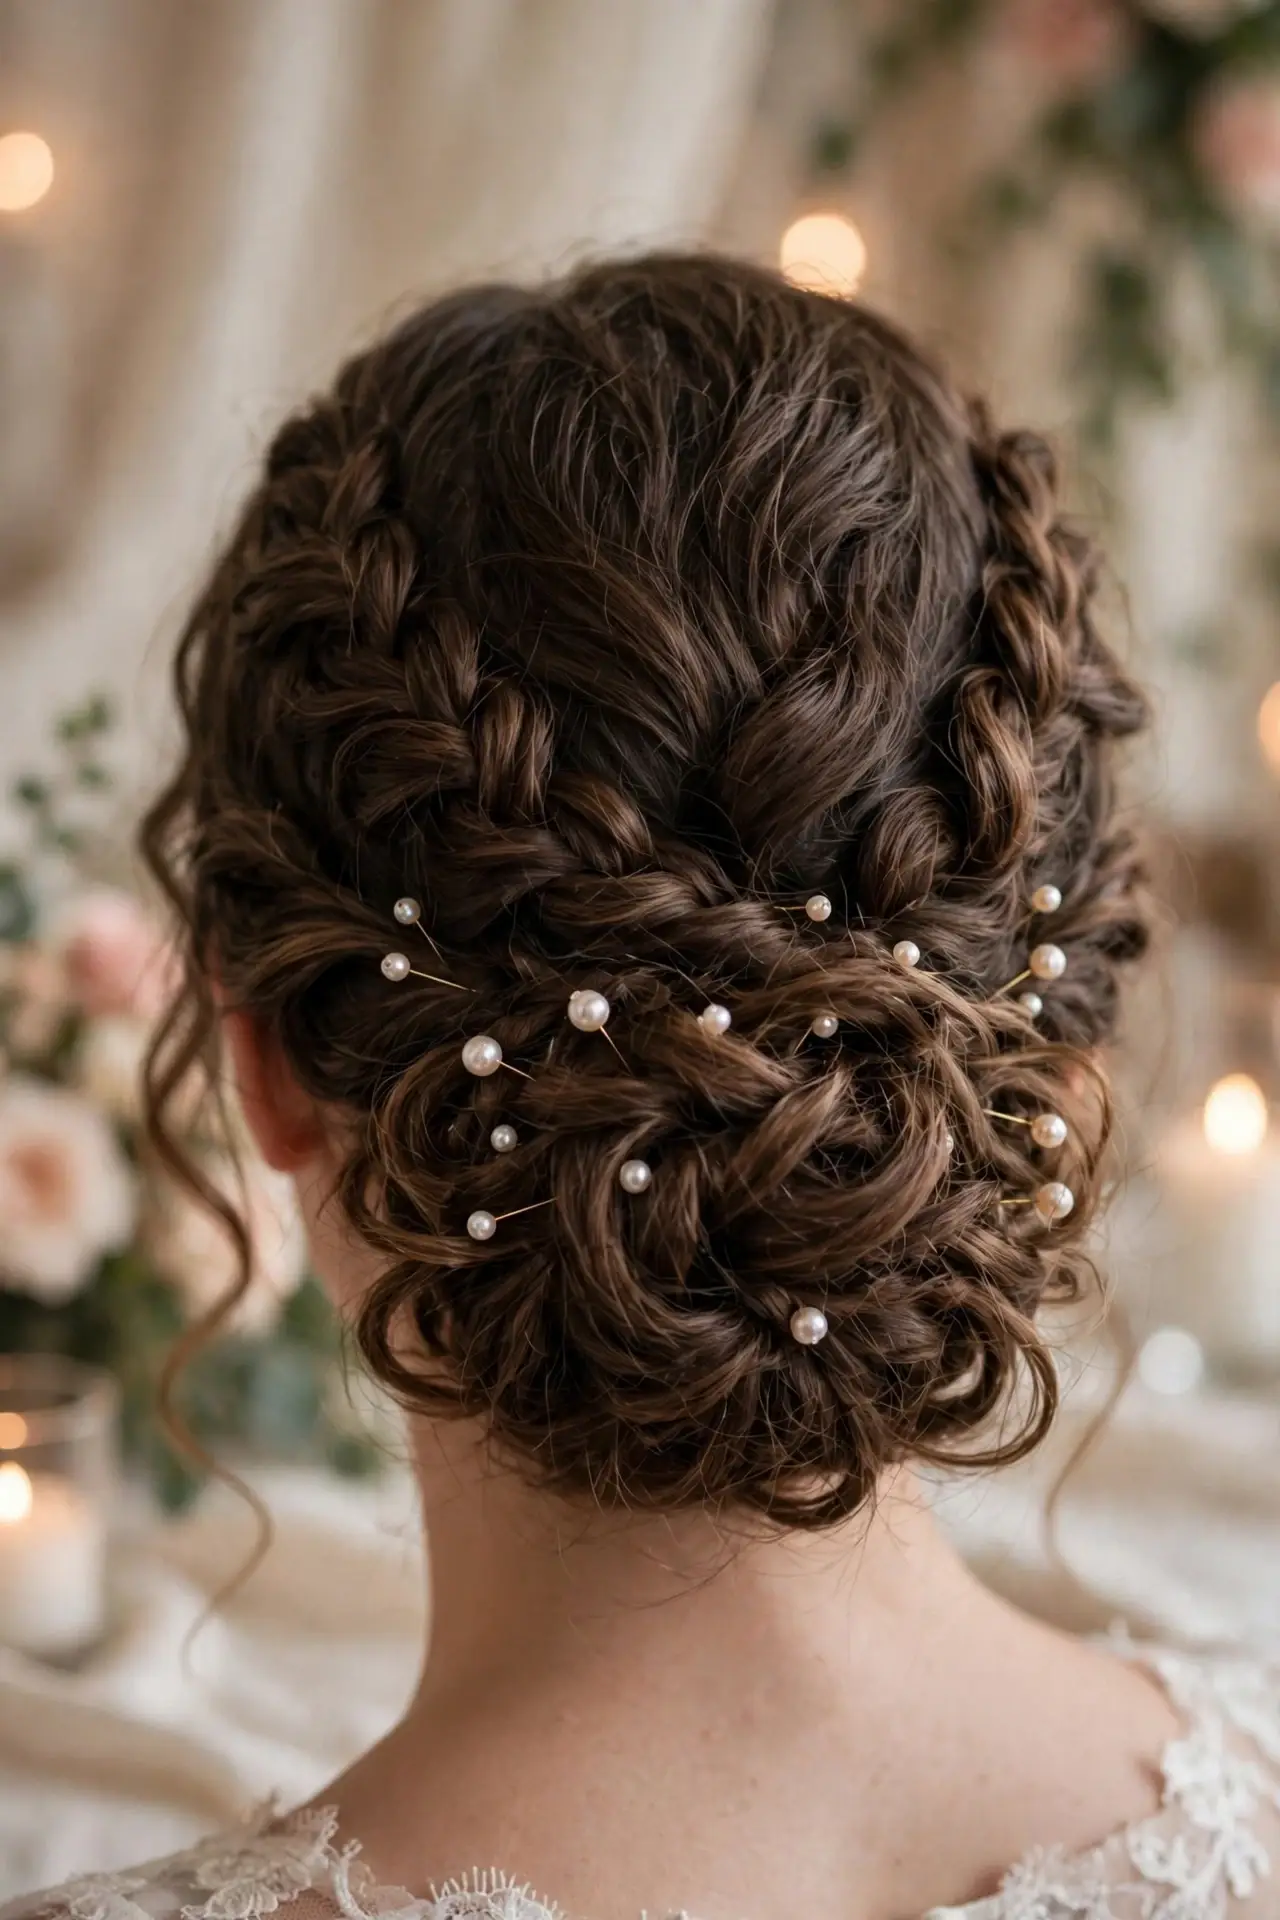
A single side braid swept over one shoulder looks incredibly romantic and photographs beautifully. For special occasions, braid only the top half and leave the rest of the curls loose, then add a few small pearl pins along the braid.
You can also finish into a low curly bun. Braid to the nape, coil the remaining length into a loose bun, and pin it in place. The curls make the bun look full and soft with almost no effort. For more everyday braid inspiration, browse our curly hair hairstyles collection.
French curl braids prove that the prettiest looks are not always the most complicated ones. A little curl, a little product, and a relaxed hand are all it takes to get that soft romantic braid you keep saving. Try french curl braids this week, wear them on day two, and see which version you love more. If you are experimenting with color too, our brown hair color ideas pair beautifully with textured braids.